
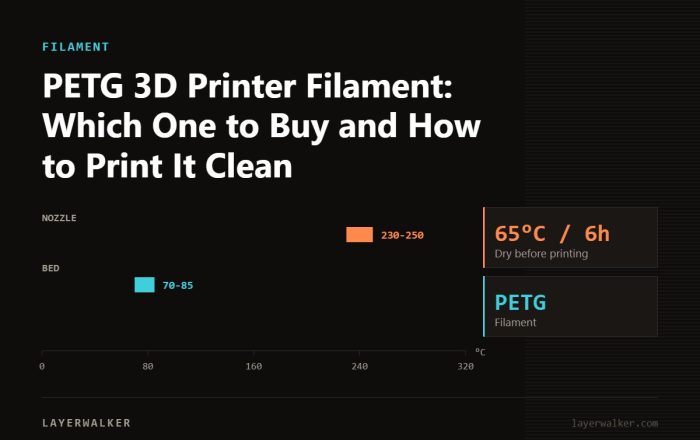
PETG 3D Printer Filament: Which One to Buy and How to Print It Clean
Short answer Buy PETG when a part must survive heat above 60 °C, outdoor use or repeated flexing: it is tougher than…
Symptom diagnoser
Pick the symptom you can see on the plate. Every fix here is written against a specific failure mode, with the settings that actually change it.
 Blobs, zits and a visible seam line
A small defect where each layer starts and stops, stacked into a visible line.
Blobs, zits and a visible seam line
A small defect where each layer starts and stops, stacked into a visible line.
 Cracking and layer delamination
Layers separate under load or on their own. Weak bonding from cold plastic or a cold chamber.
Cracking and layer delamination
Layers separate under load or on their own. Weak bonding from cold plastic or a cold chamber.
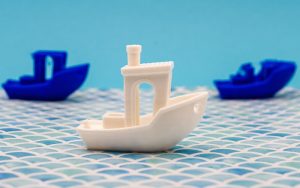 Drooping overhangs and failed bridges
Plastic sags before it sets. Cooling and slower perimeters do most of the work.
Drooping overhangs and failed bridges
Plastic sags before it sets. Cooling and slower perimeters do most of the work.
 Elephant foot on the bottom layer
The first layers bulge outwards. Too much squish plus a bed hotter than it needs to be.
Elephant foot on the bottom layer
The first layers bulge outwards. Too much squish plus a bed hotter than it needs to be.
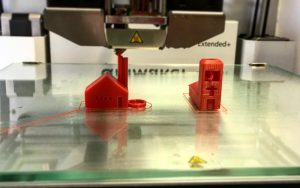 First layer not sticking to the build plate
Nine times out of ten the plate is contaminated with skin oil, not badly levelled. Wash it before you touch the Z offset.
First layer not sticking to the build plate
Nine times out of ten the plate is contaminated with skin oil, not badly levelled. Wash it before you touch the Z offset.
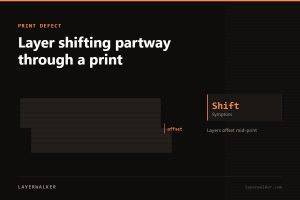 Layer shifting partway through a print
Everything above a certain height is offset. Belts, grub screws or a speed the machine cannot hold.
Layer shifting partway through a print
Everything above a certain height is offset. Belts, grub screws or a speed the machine cannot hold.
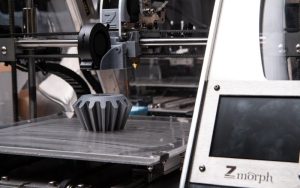 Nozzle clogged: partial and complete blockages
A partial clog degrades quality gradually; a complete one stops everything. The cold pull handles both.
Nozzle clogged: partial and complete blockages
A partial clog degrades quality gradually; a complete one stops everything. The cold pull handles both.
 Print detached mid-print and turned into spaghetti
The part came off the plate and the nozzle kept extruding into air. Adhesion, warping or a knock.
Print detached mid-print and turned into spaghetti
The part came off the plate and the nozzle kept extruding into air. Adhesion, warping or a knock.
 Ringing and ghosting on vertical surfaces
Echoes of a corner repeating across the wall. Mechanical vibration the frame cannot damp fast enough.
Ringing and ghosting on vertical surfaces
Echoes of a corner repeating across the wall. Mechanical vibration the frame cannot damp fast enough.
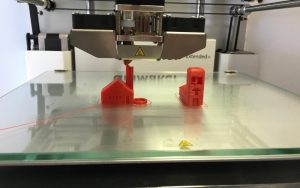 Stringing and oozing between parts
Fine hairs across gaps. Moisture first, temperature second, retraction third — in that order.
Stringing and oozing between parts
Fine hairs across gaps. Moisture first, temperature second, retraction third — in that order.
 Supports that will not come off
Supports fused to the part. Increase the Z gap and reduce the interface density.
Supports that will not come off
Supports fused to the part. Increase the Z gap and reduce the interface density.
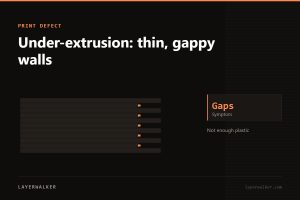 Under-extrusion: thin, gappy walls
Not enough plastic is arriving. Partial clog, worn nozzle or an uncalibrated flow rate — check in that order.
Under-extrusion: thin, gappy walls
Not enough plastic is arriving. Partial clog, worn nozzle or an uncalibrated flow rate — check in that order.
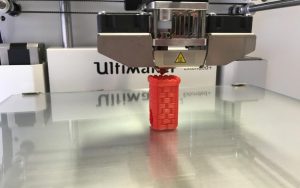 Warping: corners lifting off the bed
Plastic shrinks as it cools and pulls the corners up. Heat is the fix, not adhesion tricks.
Warping: corners lifting off the bed
Plastic shrinks as it cools and pulls the corners up. Heat is the fix, not adhesion tricks.
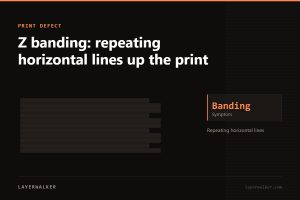 Z banding: repeating horizontal lines up the print
Bands at a regular pitch. Measure the spacing — it tells you which part is at fault.
Z banding: repeating horizontal lines up the print
Bands at a regular pitch. Measure the spacing — it tells you which part is at fault.
Short answer Buy PETG when a part must survive heat above 60 °C, outdoor use or repeated flexing: it is tougher than…
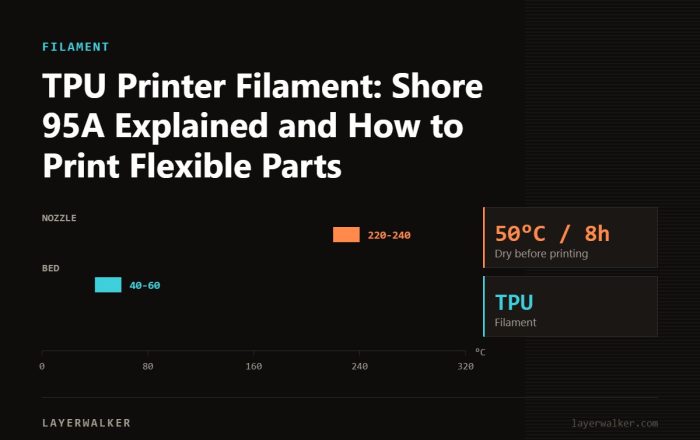
Short answer For a first flexible filament buy TPU rated Shore 95A: it is soft enough for phone cases, gaskets and grips…
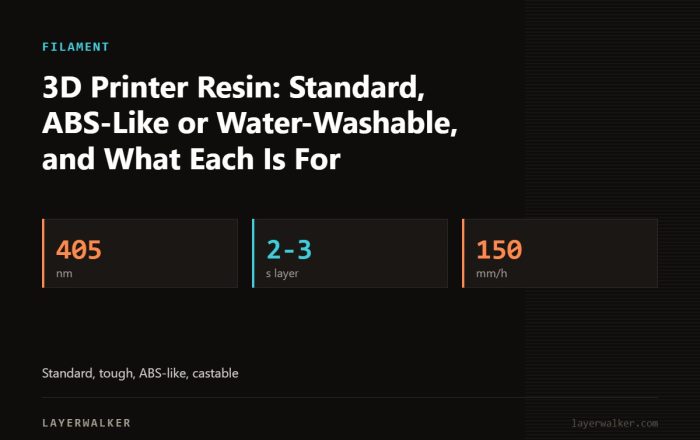
Short answer Start with a standard 405 nm resin for miniatures and detail, move to an ABS-like or tough resin the first…
Short answer Buy SUNLU PLA+ for parts that get used and dropped, plain SUNLU PLA for models and quick prototypes where cost…
 IKEA 3D Printer Enclosure: Lack, Besta or a Cabinet, and How to Make Each Work
02
IKEA 3D Printer Enclosure: Lack, Besta or a Cabinet, and How to Make Each Work
02
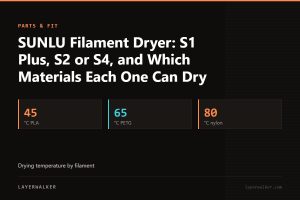 SUNLU Filament Dryer: S1 Plus, S2 or S4, and Which Materials Each One Can Dry
03
SUNLU Filament Dryer: S1 Plus, S2 or S4, and Which Materials Each One Can Dry
03
 Auto Bed Leveling for a 3D Printer: What a CR Touch Fixes and What It Doesn’t
04
Auto Bed Leveling for a 3D Printer: What a CR Touch Fixes and What It Doesn’t
04
 3D Printer Filament Dryer: Do You Need One, and Which Type Actually Dries
05
3D Printer Filament Dryer: Do You Need One, and Which Type Actually Dries
05
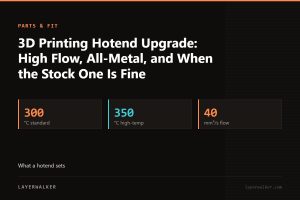 3D Printing Hotend Upgrade: High Flow, All-Metal, and When the Stock One Is Fine
06
3D Printing Hotend Upgrade: High Flow, All-Metal, and When the Stock One Is Fine
06
 DIY 3D Printer Enclosure: The Lack Table Build, What It Costs You, and When to Buy Instead
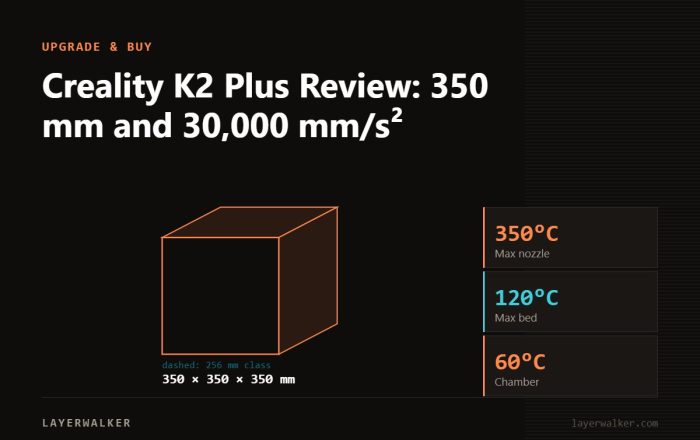
Short answer The K2 Plus is the biggest enclosed CoreXY Creality makes and the numbers back it up: 350 x 350 x…
Short answer Creality’s scanner range is broad and confusingly named: CR-Scan Ferret and Ferret Pro, CR-Scan Lizard, CR-Scan Otter and Otter Lite,…
Short answer Photon is Anycubic’s resin line, and the name now spans several generations, so it is not a single machine. The…
Short answer The A2L Combo pairs Bambu’s largest open machine with a changer. The printer gives 330 x 320 x 325 mm,…