Elephant foot on the bottom layer
LayerWalker is a participant in the Amazon Services LLC Associates Program. We may earn a commission when you buy through links on our site, at no extra cost to you.
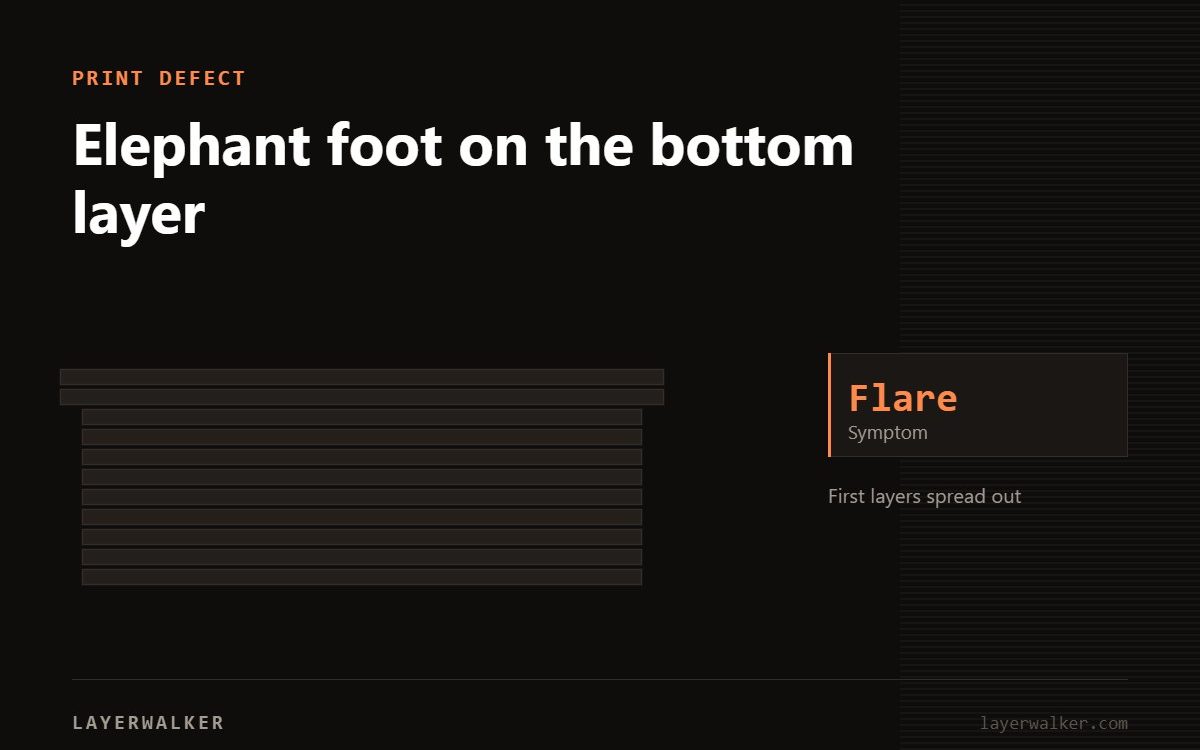
The bottom layers are squashed wider than the rest of the part. Raise the Z offset slightly and drop the bed temperature — those two together fix nearly every case.
Elephant foot matters when parts have to fit together. A base that is 0.3 mm oversized turns a sliding fit into an interference fit, and people usually blame the model.
The bottom two or three layers bulge out beyond the part outline
Excess first layer squish, softened by a bed that is too hot
- Raise the Z offset by 0.01-0.02 mm and reprint the base only.
- Drop the bed temperature 5 degC. A bed running hot keeps the lower layers soft enough to spread under the weight above.
- Enable elephant foot compensation in the slicer, typically 0.1-0.2 mm.
- Add a small chamfer to the bottom edge in CAD. This is the most reliable fix for parts that must fit.
- Turn part cooling on from layer two rather than layer three or four.
Change one at a time so you know which mattered.
If the bottom layers are not the only thing wrong, start with the first layer diagnostic order, which separates squish from levelling and flow.
Elephant foot 3D printing: compensation is a patch, not a fix
Slicer compensation shrinks the first layer outline to cancel the bulge. It works, but it is correcting a symptom. If you need more than about 0.2 mm of compensation, the Z offset or bed temperature is wrong and you are hiding it.

LayerWalker
Print defect diagnosis, calibration procedures and parts that actually fit. Corrections welcome through the contact page.