Z offset: dialling in first layer squish
LayerWalker is a participant in the Amazon Services LLC Associates Program. We may earn a commission when you buy through links on our site, at no extra cost to you.
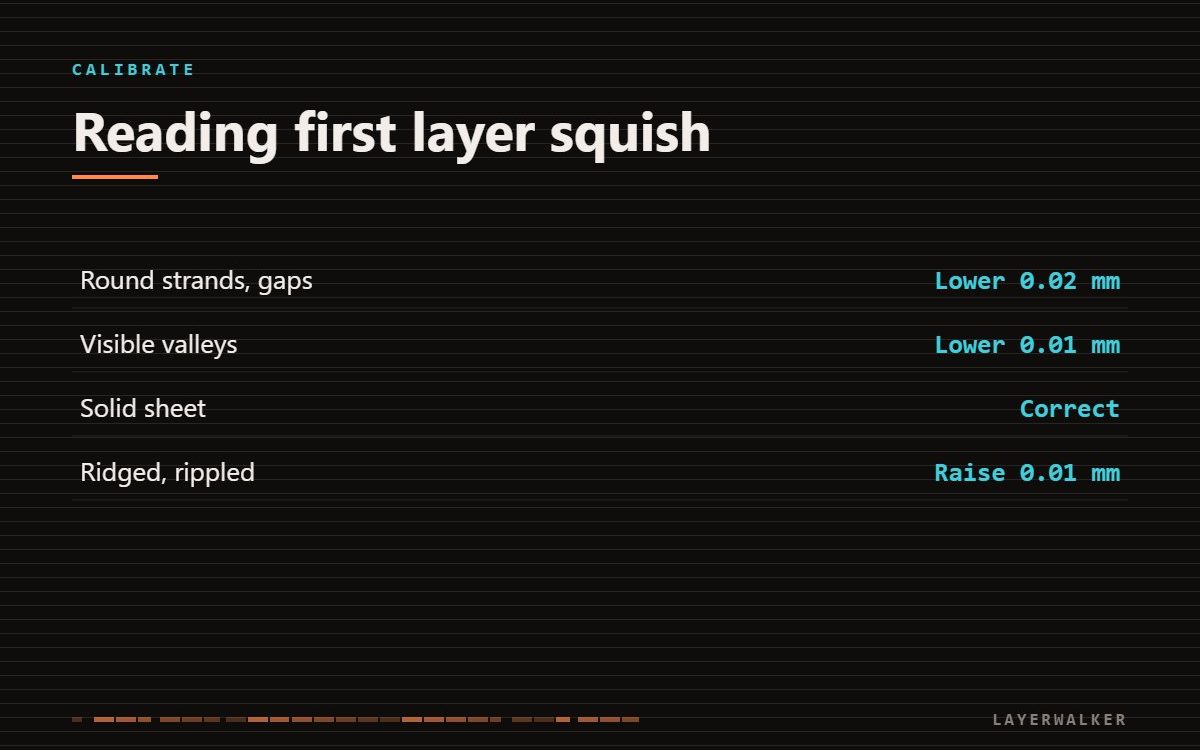
Print a single-layer test patch and look at the lines under good light. Correct squish means the lines have merged into a solid sheet with no gaps and no ridges. Adjust in 0.01-0.02 mm steps.
The paper method gets you within about 0.1 mm. A 0.2 mm first layer needs better than that, which is why a printed test beats a feeler gauge every time.
Where to buy


3D printer z offset: read the test patch
| Property | Value |
|---|---|
| Separate round strands with gaps | Z too high, lower in 0.02 mm steps |
| Lines touching but with visible valleys | slightly high, lower 0.01 mm |
| Solid sheet, faint line texture | correct |
| Ridged, rippled surface | Z too low, raise 0.01 mm |
| Translucent patches, nozzle ploughing | far too low, raise 0.03 mm and re-check |
First layer inconsistent, or parts not sticking reliably
Z offset not set for this plate and nozzle combination
- Clean the plate with dish soap and hot water first. A dirty plate makes any offset look wrong.
- Heat bed and nozzle to printing temperature and let them soak for five minutes. Metal expands.
- Print a single-layer patch about 50 mm square.
- Look at the surface, not the edges. Adjust in 0.01-0.02 mm steps.
- Re-check after changing plates. A textured sheet and a smooth sheet are not the same thickness.
Things that change your offset
Swapping the build plate, changing the nozzle, and even a significant room temperature change all shift the number. If your first layer was perfect last month and is wrong now, look for one of those before assuming the machine drifted.
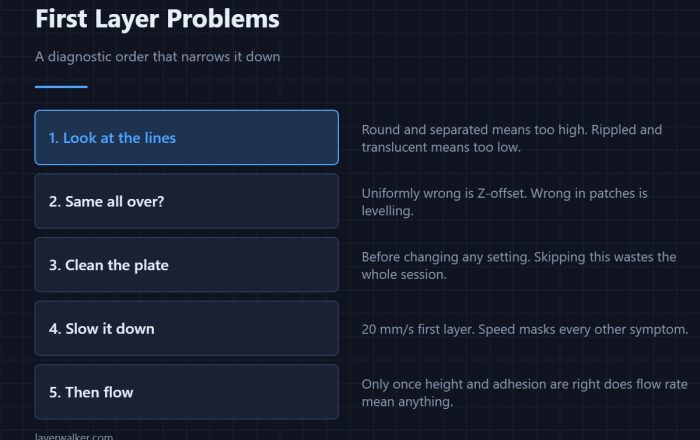
If you are not yet sure the offset is what is wrong, work through the first layer diagnostic order first — it separates height from levelling, cleanliness and flow in about ten minutes.
Per-material offsets
Most slicers let you store a Z offset per filament profile. PETG generally wants a fraction more clearance than PLA because it bonds so strongly. If you switch materials often, set it once per profile rather than adjusting each time.

LayerWalker
Print defect diagnosis, calibration procedures and parts that actually fit. Corrections welcome through the contact page.