Flow rate and extrusion multiplier calibration
LayerWalker is a participant in the Amazon Services LLC Associates Program. We may earn a commission when you buy through links on our site, at no extra cost to you.
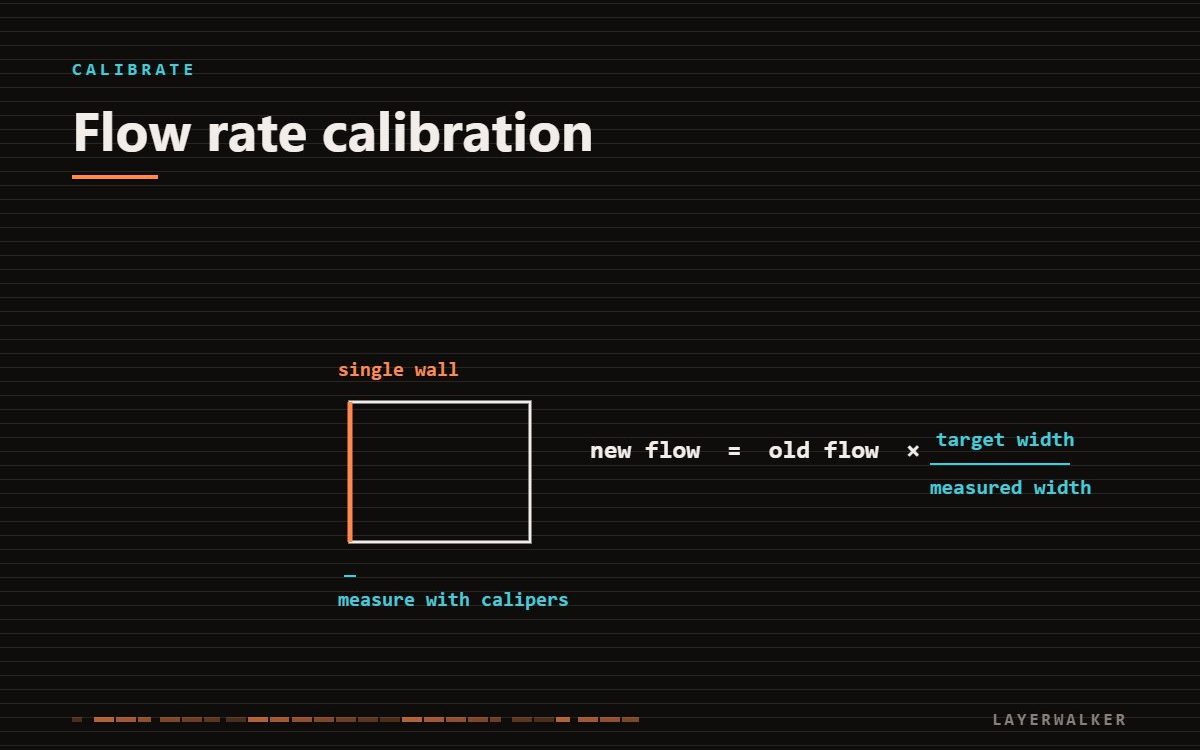
Print a single-wall cube, measure the wall with calipers, and multiply your current flow by intended width divided by measured width. This one calibration improves dimensional accuracy, top surfaces and strength together.
Flow rate is the ratio between how much plastic the slicer thinks it is putting down and how much actually arrives. Get it wrong and everything downstream is wrong.
Where to buy


Clockwise Tools IP54 Grade Digital Caliper, DCLR-0605 0-6" /150mm, Inch/Metric/Fractions Conversion, Stainless Steel, Large LCD Screen
Flow rate calibration: the single-wall test
No top or bottom layers. You are measuring one wall, nothing else.
Dimensions consistently off, rough top surfaces, or gaps between lines
Flow rate not matched to this filament
- Print the single-wall cube above.
- Measure the wall thickness at four points, avoiding corners and the seam.
- Average the four readings.
- New flow equals current flow multiplied by intended width divided by measured width.
- Save the result to the filament profile, not the printer profile.
- Reprint and confirm the wall now measures the intended width.
Worked example
Intended extrusion width 0.42 mm. Measured average 0.44 mm. Current flow 100 percent. New flow equals 100 times 0.42 divided by 0.44, which is 95.5 percent.
Flow is per filament, not per printer
Different brands and even different colours from the same brand vary. Pigment loading changes how the material flows. Calibrate flow for each filament you use regularly and store it in that filament profile — a single machine-wide number is a compromise that fits nothing exactly.
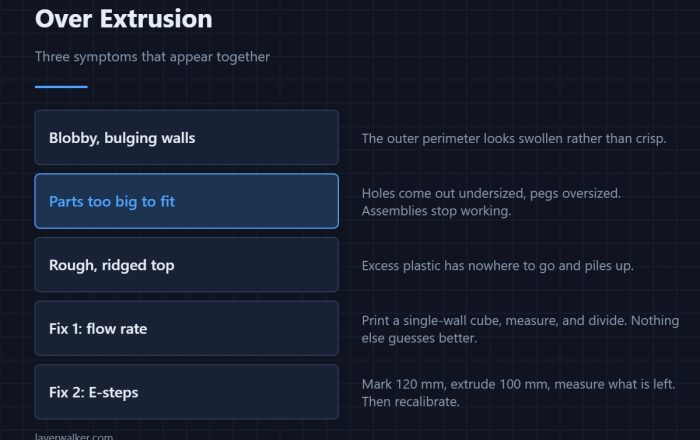
If the measurement comes back high rather than low, the symptoms and the second number to check are in over extrusion.
Order of operations
Calibrate flow before pressure advance. Pressure advance compensates for pressure dynamics, and if the base flow is wrong you will tune it to cancel out an error you should have fixed.

LayerWalker
Print defect diagnosis, calibration procedures and parts that actually fit. Corrections welcome through the contact page.