First Layer Problems: A Diagnostic Order That Narrows It Down
LayerWalker is a participant in the Amazon Services LLC Associates Program. We may earn a commission when you buy through links on our site, at no extra cost to you.
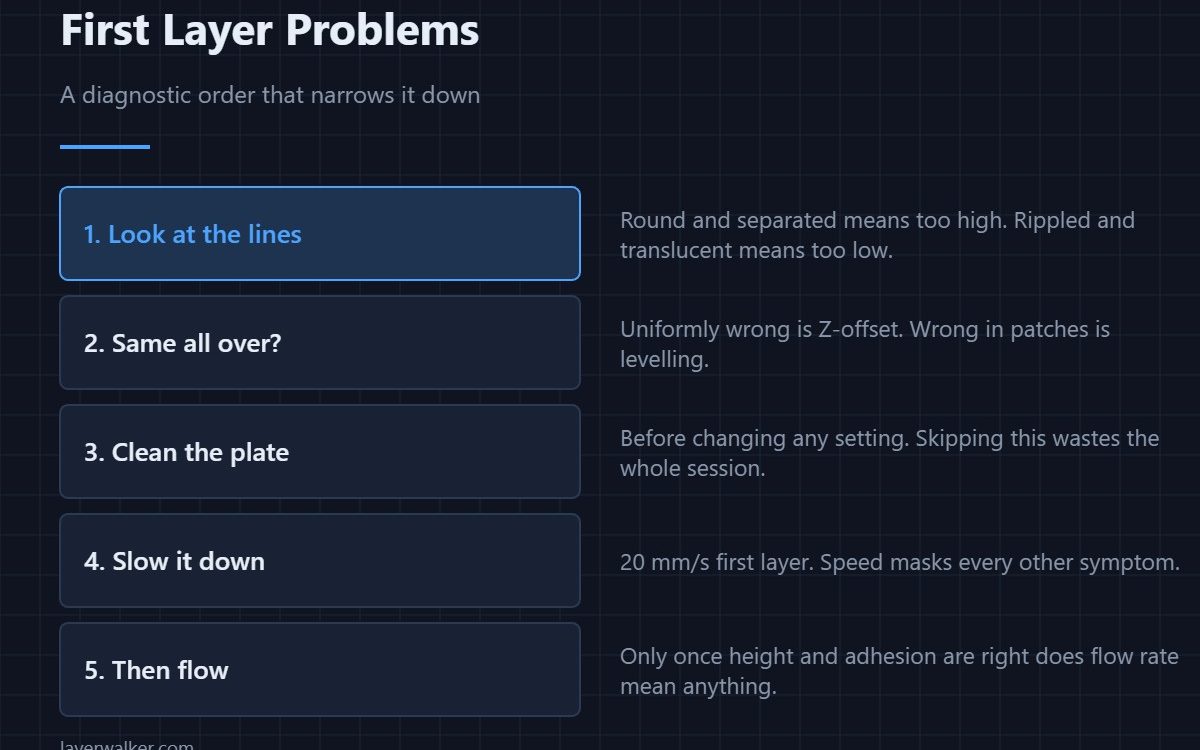
First layer problems nearly all look alike and have different causes, which is why changing settings at random wastes evenings. Work in this order: read the lines to judge nozzle height, decide whether the fault is uniform or patchy, clean the plate, slow the first layer to 20 mm/s, and only then look at flow. Ten minutes of diagnosis beats an hour of guessing.
The first layer is where four independent variables all show up as the same picture: nozzle height, bed levelness, surface cleanliness and extrusion rate. Separating them is the whole job, and each step below rules one out.
Where to buy


1. Read the lines
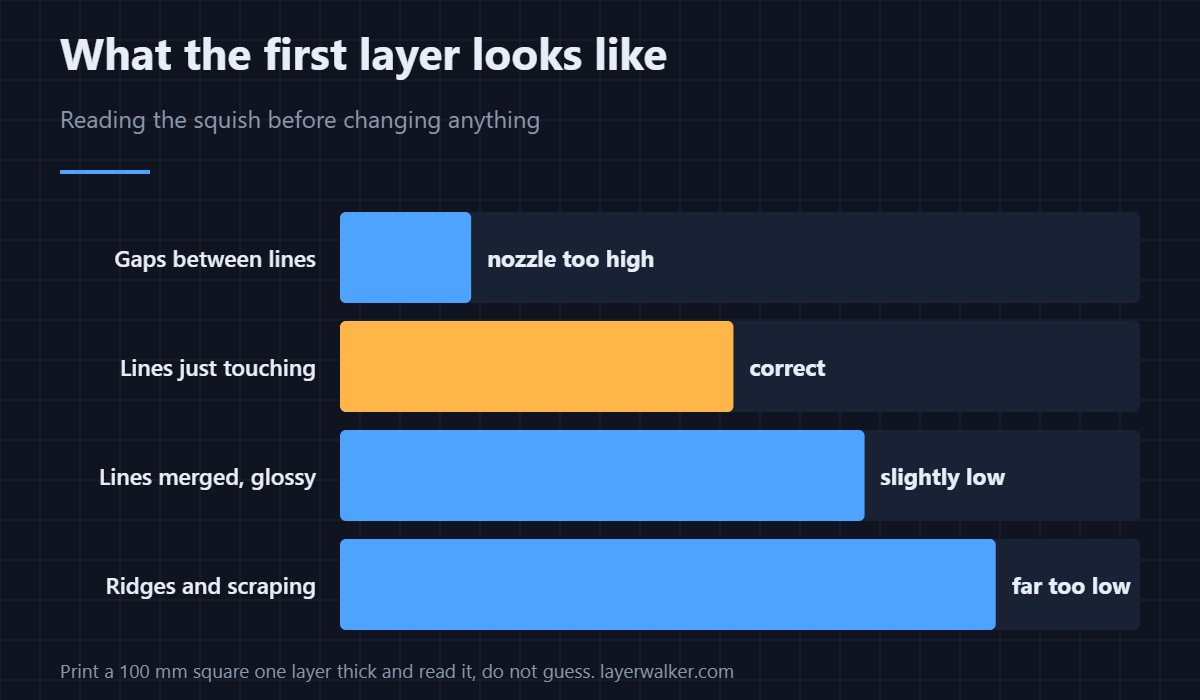
Print a 100 mm square, one layer thick, and look at it rather than at your slicer.
- Round lines with gaps between them: nozzle too high. Most common by a wide margin.
- Lines merged into a glossy sheet, with ridges: nozzle too low.
- Lines touching, matt, no gaps: correct.
- Scraping noise and a scarred plate: far too low. Stop before you damage the surface.
2. Uniform or patchy?
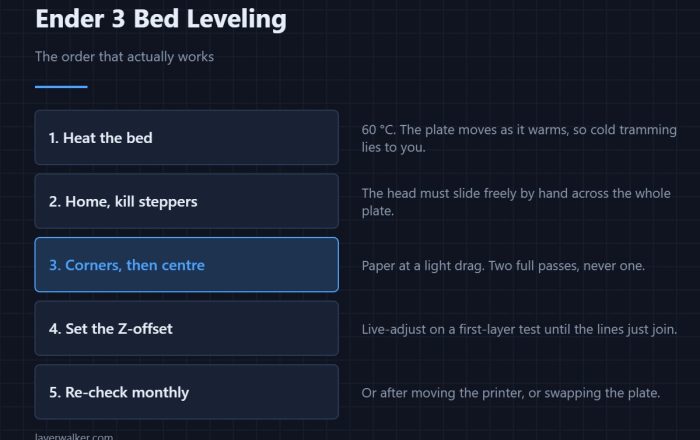
This single question splits the problem in half. If the whole square is wrong in the same way, it is Z-offset — one number, fixed in two minutes with a live adjustment. If it is good in the middle and bad at the edges, or good on one side, it is levelling or a bowed plate, and no offset value will fix it. On an Ender-class machine, hand-tramming comes first, and a probe handles what tramming cannot.
3. Clean the plate before changing settings
Do this before touching anything else, because a contaminated surface makes every other measurement lie. Soap and warm water, then isopropyl alcohol — in that order. Alcohol alone redistributes skin oil. The full routine is short and worth following exactly.
4. Slow it down
First layer at 20 mm/s or less, with the part fan off or very low. Speed masks everything: a first layer that would be fine at 20 mm/s looks like an adhesion failure at 60 mm/s, and you end up chasing the wrong variable.
5. Only then, flow
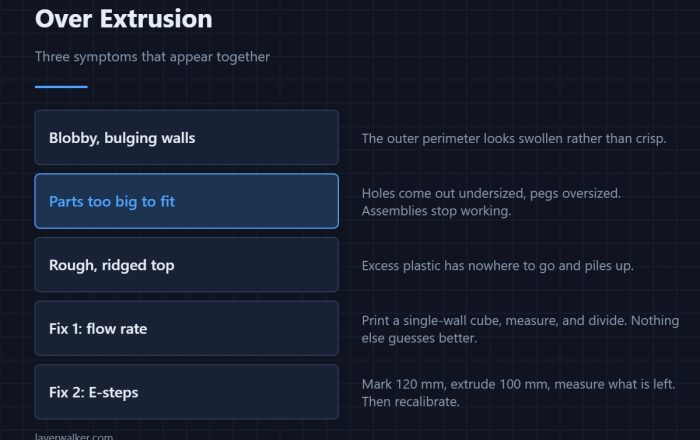
If height is right, the plate is clean, the bed is level and it is still wrong, look at extrusion. Lines thinner than they should be with gaps means under-extrusion; lines piling up and bulging means over extrusion. Both are measured, not guessed, using flow rate calibration.
By material
Every material wants a slightly different first layer. PLA wants a firm squash. PETG wants more gap and will tear if you squash it like PLA. ABS and ASA want a hot bed and warm air more than they want a particular height. If your first layer is only bad on one material, the profile is the problem, not the machine.
First Layer Problems FAQ
Should I level the bed or set the Z-offset first?
Level first, offset second. Levelling makes the plate parallel to the nozzle path; the offset then sets how hard the nozzle presses. Doing it the other way round means redoing the offset afterwards.
Why is my first layer good in the middle and bad at the edges?
The bed is bowed or tilted. That is a levelling and flatness problem. Tram the corners by hand, and if the plate itself is crowned, a probe mesh will compensate for the shape.
How slow should the first layer be?
20 mm/s is a safe default, and 15 mm/s for PETG and TPU. There is no real cost: the first layer is a tiny fraction of total print time.
My first layer is fine but the part comes off later. Is that a first layer problem?
No, that is warping — contraction in the upper layers pulling the base up. Look at warping and corners lifting instead, and at the material, because PLA warping and ABS warping have different answers.

LayerWalker
Print defect diagnosis, calibration procedures and parts that actually fit. Corrections welcome through the contact page.