3D Printer Test Prints: Which Ones Actually Tell You Something
LayerWalker is a participant in the Amazon Services LLC Associates Program. We may earn a commission when you buy through links on our site, at no extra cost to you.
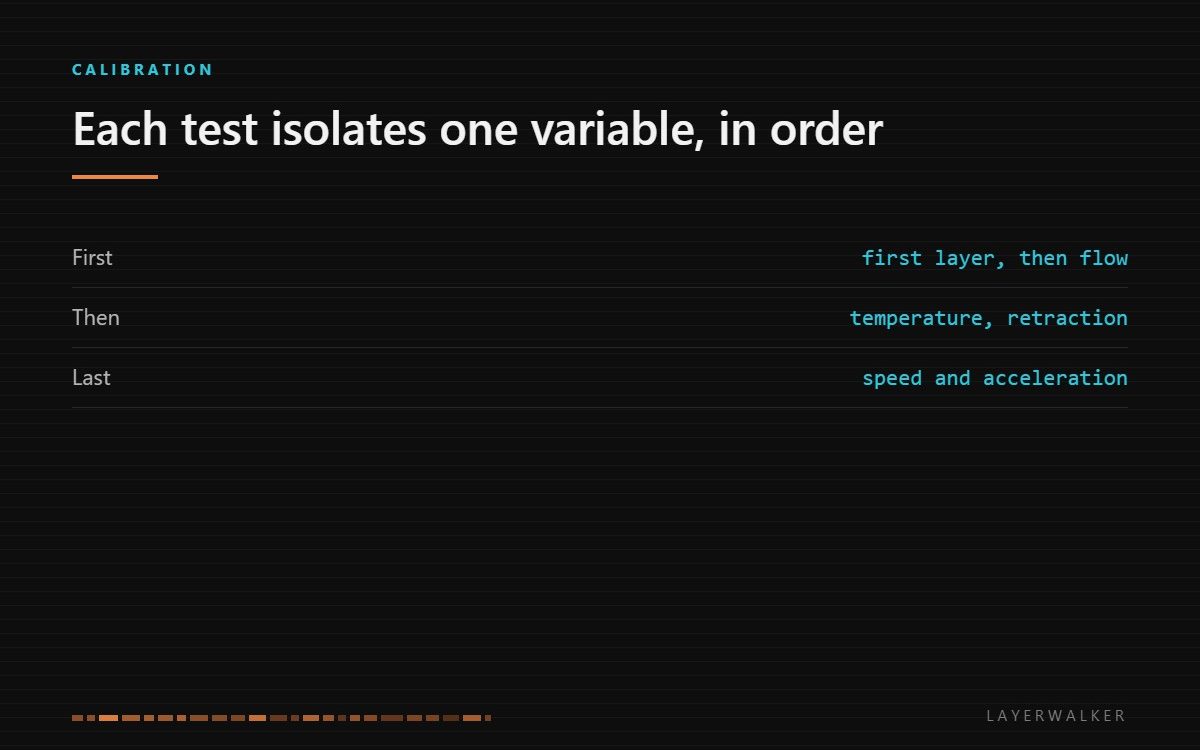
A test print is only useful if it isolates one variable and you measure the result. A caliper turns most of these from opinions into numbers. Run them in order: first layer, then flow, then temperature, then retraction, then speed.
Where to buy


Bambu Lab PLA 3D Printer Filament 1.75mm RFID 1kg with Spool, Black

What to look for
The test models are free. What you need is a way to read them and a filament that does not change under you. A digital caliper reading to 0.01 mm is the core tool: almost every test on this page ends with measuring something and comparing it to what the model says, and eyeballing a 0.2 mm error is not possible.
Use one spool for a whole calibration session, and prefer a mainstream filament with tight diameter tolerance rather than whatever is half-used on the shelf. Switching brands mid-sequence invalidates everything upstream, because flow and temperature both move with the material. A tool kit covers removing the coupons and clearing the nozzle between temperature steps.
What each test actually measures
| Test | Measures | How you read it |
|---|---|---|
| First layer patch | Nozzle height, bed flatness | Lines touching with no gaps and no squeeze-out ridges |
| Single wall cube | Flow rate | Caliper on the wall; compare with the slicer’s line width |
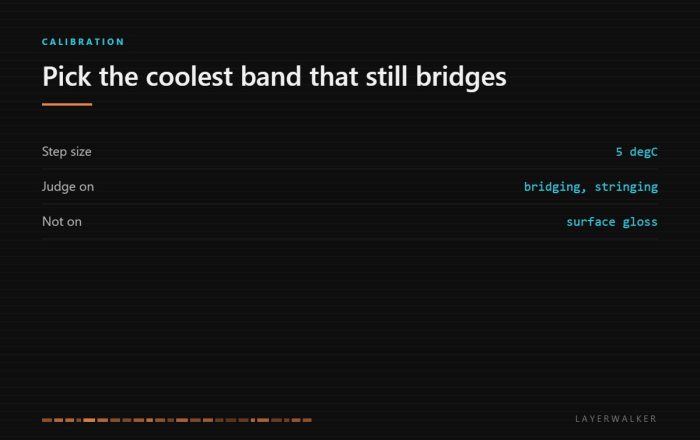
| Temperature tower | Best nozzle temperature | Look for the band with least stringing and best bridging |
| Retraction tower | Retraction distance | Cleanest gap between the pillars |
| Calibration cube | Dimensional accuracy, skew | Caliper on X, Y and Z against the nominal size |
| Overhang and bridge test | Cooling | Angle at which the underside goes rough |
| Tolerance or fit test | Usable clearance | Which pin turns freely in its hole |
The order matters more than the tests
Each test assumes the ones before it are already right, so running them out of order wastes filament. First layer comes first because nothing downstream is readable on a part that did not adhere. Flow comes second because a wall that is the wrong thickness makes every dimensional measurement afterwards wrong by the same amount, and people chase that as a skew problem for weeks.
Temperature comes third, because it changes stringing, surface finish and bridging simultaneously, which means tuning retraction before temperature means tuning retraction twice. Retraction comes fourth, and speed and acceleration last, because raising speed can reintroduce faults the earlier steps just fixed and you want a known-good baseline to compare against.
Our page on calibrating a printer runs through the full sequence, and flow rate calibration covers the single wall test in detail.
The famous test that measures very little
The 3DBenchy is a fine visual check and a poor diagnostic. It combines overhangs, bridging, small features, retraction and curves in one model, so when it comes out badly it tells you something is wrong without telling you what. Print it at the end as a confidence check, not at the start as a diagnosis.
The same applies to any “all in one” test model. Diagnostic value comes from isolating variables, and a model that exercises six settings at once isolates nothing. Keep those for showing people that the machine works.
What a good result looks like
Dimensional accuracy within about 0.2 mm on a small cube is normal and fine for most work. Chasing below that on a machine with belts and a 0.4 mm nozzle is effort spent in the wrong place; the remaining error comes from material shrinkage and mechanical slop, and it changes with the material anyway.
For parts that must fit together, measure the fit rather than the outside dimension. A hole printed at nominal size comes out undersized on nearly every FDM machine because of the way corners are traced, so the useful number is how much clearance your machine needs, not how accurate the cube was. Print a fit test once per material and write the number down.
FAQ
How often should I recalibrate? When you change material, change nozzle, or notice a fault. Not on a schedule.
Does every filament need its own calibration? Flow and temperature, yes. Retraction and speed usually carry over within a material family.
Is a calibration cube enough on its own? No. It measures dimensions after flow is correct, and tells you nothing if flow is not.
Why do my holes come out too small? Normal for FDM. Design in clearance, or measure your machine’s offset once and apply it.

LayerWalker
Print defect diagnosis, calibration procedures and parts that actually fit. Corrections welcome through the contact page.