Temperature Tower: How to Run One and What to Read From It
LayerWalker is a participant in the Amazon Services LLC Associates Program. We may earn a commission when you buy through links on our site, at no extra cost to you.
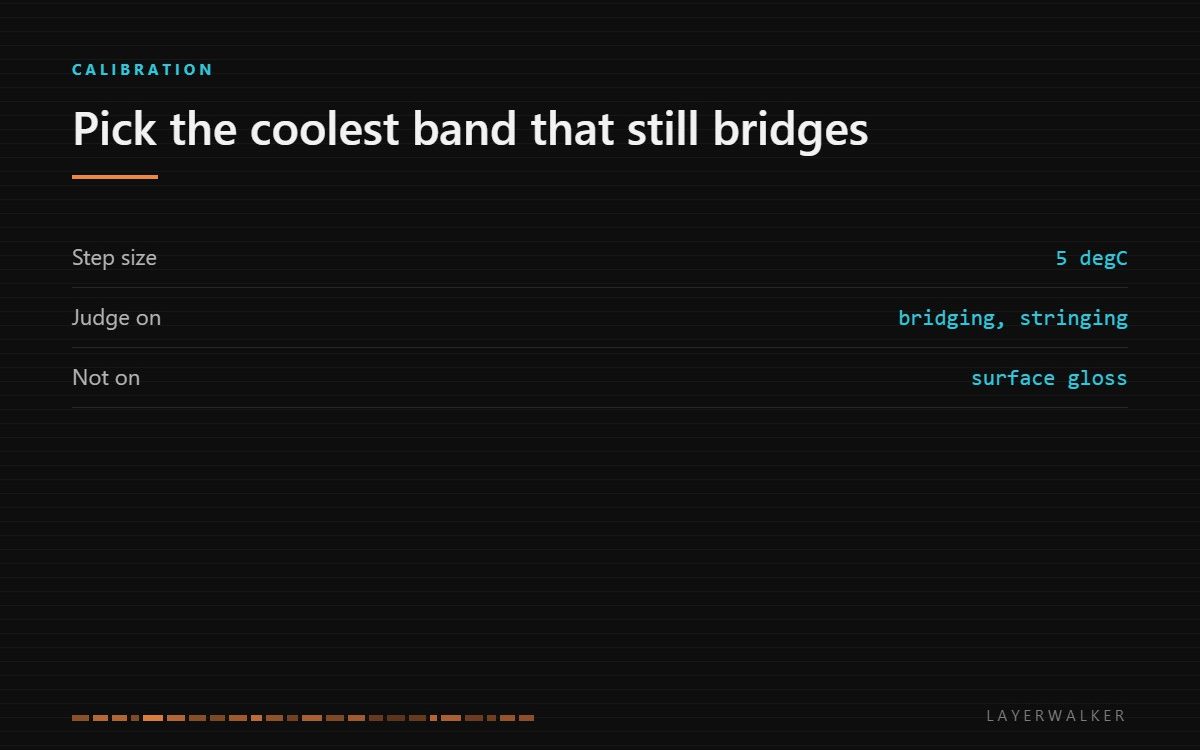
Slice a tower so each band drops 5 degC, print it, then judge on bridging and stringing rather than on which band looks smoothest. Dry the filament first or the tower will measure moisture instead of temperature.
Where to buy

Bambu Lab PLA 3D Printer Filament 1.75mm RFID 1kg with Spool, Black


What to look for
You need one spool you will keep using, because the result only applies to that material and often to that brand. Testing on a nearly empty spool of something you will not buy again is wasted filament. PLA and PETG behave differently enough that each needs its own tower, which is why a sensible session runs one of each.
A dryer belongs in this list even though it feels unrelated. A damp spool strings at every temperature, which flattens the whole tower into a uniform mess and makes the test unreadable. If the filament has been open for weeks, dry it first and the tower will separate cleanly.
How to slice one
Every slicer can do this, and the mechanism is the same: a temperature change command inserted at a fixed layer height. Most slicers have a built-in way to script it; some tower models ship with the changes already embedded, in which case you slice normally and do not touch the temperature settings at all.
Start above the material’s usable range and work down, in 5 degree steps. Smaller steps do not resolve better because the difference between adjacent bands gets lost in normal print variation; larger steps skip the answer. Six to eight bands covers any common material.
| Material | Start | End | Notes |
|---|---|---|---|
| PLA | 220 degC | 195 degC | Stringing improves sharply at the low end |
| PETG | 250 degC | 225 degC | Strings at every temperature; judge on the least bad |
| ABS and ASA | 255 degC | 230 degC | Run enclosed or layer bonding confounds the result |
| TPU | 235 degC | 215 degC | Print slowly or the tower measures speed instead |
Reading it properly
The instinct is to pick the smoothest band. That is usually the hottest one, because hot plastic flows into a glossier surface, and it is usually the wrong answer. Hot bands also string worse, sag on overhangs, and bond to the layer below in a way that looks good and measures no stronger.
Judge on three things in this order. Bridging: the underside of any span should be the least droopy. Stringing: the fewest hairs between features. Overhang quality: the steepest angle that still finishes cleanly. Surface gloss comes last, because it is the property least connected to whether the part works.
Then pick the lowest temperature that still passes all three. Running cooler reduces stringing and oozing without costing anything, and gives you headroom later if you raise print speed, because faster printing needs more heat for the same flow.
Where the tower misleads
Layer bonding does not show up on a tower at all. A band printed too cool can look perfect and snap along the layer lines under load, and there is no way to see that from the outside. If the part is structural, take the temperature the tower suggests and test a real part rather than trusting the coupon.
The tower also tests at one speed and one layer height. Change either substantially and the answer moves, because both change how much heat the plastic needs per second. A tower run at 60 mm/s does not describe a part printed at 250.
And if the tower shows no difference between bands at all, the variable is not temperature. That is the fingerprint of wet filament or a partially blocked nozzle, and our pages on drying filament and clogged nozzles cover both.
FAQ
What step size should I use? 5 degrees. Smaller steps get lost in print-to-print variation.
Should I pick the shiniest band? No. Pick the coolest band that bridges cleanly and does not string.
Do I need a new tower for each brand? For a material you will use a lot, yes. Formulations differ more than the labels suggest.
My tower looks the same all the way up. Then temperature is not your variable. Check moisture and the nozzle first.

LayerWalker
Print defect diagnosis, calibration procedures and parts that actually fit. Corrections welcome through the contact page.