Infill patterns: gyroid, grid and when it matters
LayerWalker is a participant in the Amazon Services LLC Associates Program. We may earn a commission when you buy through links on our site, at no extra cost to you.
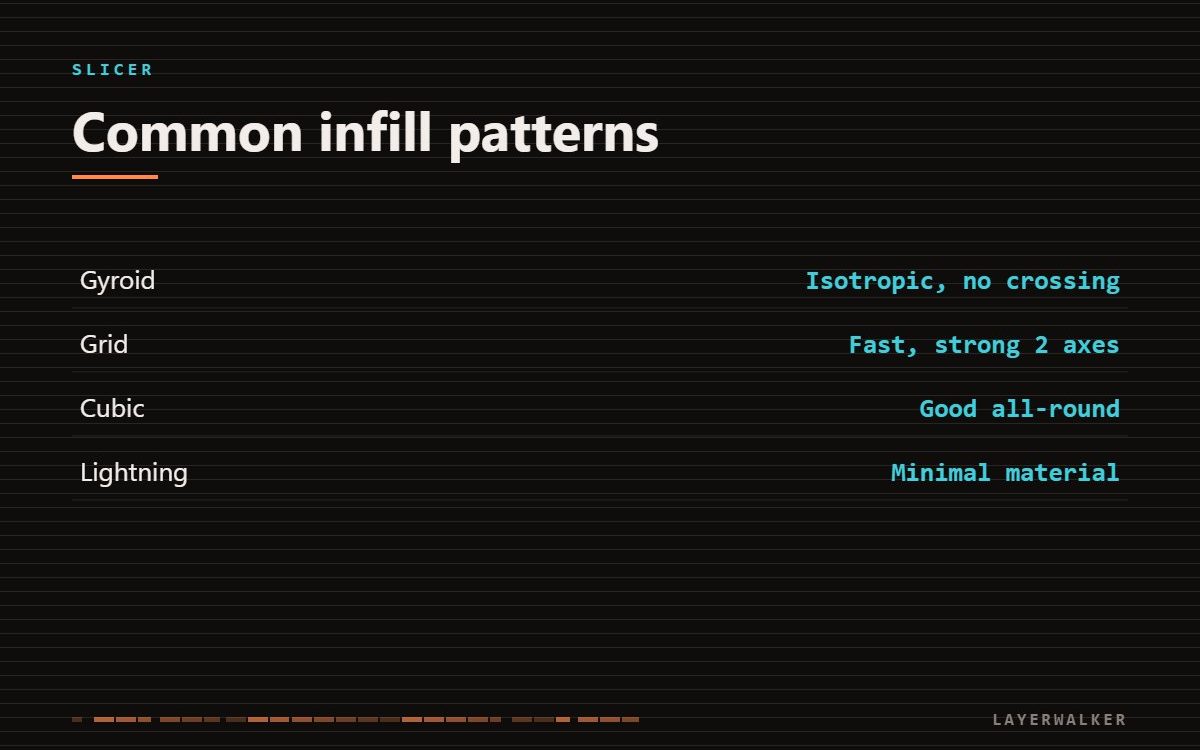
Gyroid at 15-20 percent is the sensible default for functional parts — strong in all directions and it never crosses itself. Grid is faster to print. Below about 25 percent the difference in strength between patterns is small.
| Property | Value |
|---|---|
| Gyroid | isotropic strength, no self-crossing, moderate speed |
| Grid | fast, strong in two axes, nozzle crosses printed lines |
| Cubic | good all-round strength, slower than grid |
| Lightning | minimal material, supports top surfaces only |
| Honeycomb | strong, slow to print |
| Concentric | flexible parts and TPU |
3D print infill patterns: why gyroid gets recommended so often
Grid patterns cross over previously printed lines at every intersection, which the nozzle then drags through. Gyroid is a continuous curved surface that never intersects itself, so there is nothing to collide with, and it carries load roughly equally in all three axes.
Density does more than pattern
| Property | Value |
|---|---|
| Display model | 5-10 percent, lightning or gyroid |
| General functional part | 15-20 percent gyroid |
| Load bearing | 30-40 percent gyroid or cubic |
| Threaded or drilled | 50 percent or higher locally |
| Flexible TPU part | 5-15 percent concentric |
Walls matter more than infill
For most loading cases, adding a perimeter does more for strength than raising infill by ten per cent, and costs less material and time. If a part is failing under load, increase wall loops from two to three or four before you touch infill.
Lightning infill
Lightning generates a branching structure that only supports the top surfaces and leaves the rest hollow. For display models and prototypes it saves a great deal of material and time. It contributes almost nothing to strength, so do not use it on anything that gets loaded.

LayerWalker
Print defect diagnosis, calibration procedures and parts that actually fit. Corrections welcome through the contact page.