Seam position settings that actually help
LayerWalker is a participant in the Amazon Services LLC Associates Program. We may earn a commission when you buy through links on our site, at no extra cost to you.
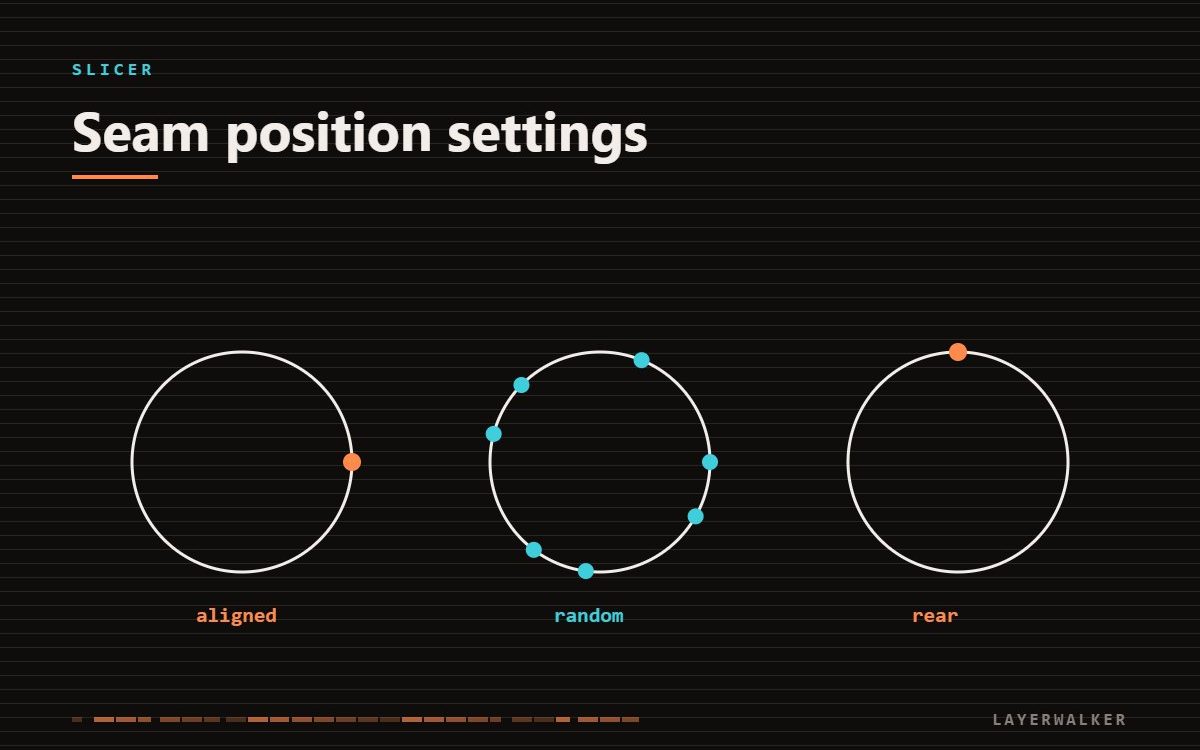
Set seams to Aligned for functional parts, and paint them manually on anything visible. Random scatters the problem instead of solving it, and Rear only works if the model has a defined back.
Every perimeter has to start and stop somewhere, and that point leaves a small mark. You cannot eliminate it. You can choose where it goes.
| Property | Value |
|---|---|
| Aligned | one vertical line, tidy but visible on smooth curves |
| Nearest | shortest travel, produces a wandering line |
| Random | scattered marks, no line, but marks everywhere |
| Rear | all seams at the back, only useful with a defined back |
| Painted | you choose per model, best result, costs a minute |
3D print seam position: fix the blob before moving the seam
If your seam is a row of blobs rather than a faint line, moving it just relocates the blobs. Calibrate pressure advance and enable wipe on loop end first. Once the seam is a clean line, then decide where to put it.
A visible line or row of bumps running up the print
Perimeter start and stop points stacked vertically
- Calibrate pressure advance so the start and stop are clean.
- Enable wipe at the end of the loop.
- Set seam position to Aligned.
- For visible parts, use the seam painting tool and place the line on an internal corner or a hidden face.
- On cylinders, consider a spiral or vase mode if the geometry allows it — no seam at all.
Painting is faster than it sounds
Open the paint seam tool, click a vertical strip on the least visible face, slice. On a model you will print more than once that minute pays for itself immediately, and the result beats every automatic mode.
A quick way to check the seam landed where you wanted before printing: open the gcode preview and scrub a few layers.
Scarf joints
Newer slicer versions offer a scarf or staggered seam that ramps the start and end over a distance instead of stopping abruptly. On curved surfaces this is close to invisible. If your slicer has it, it is worth trying before painting.

LayerWalker
Print defect diagnosis, calibration procedures and parts that actually fit. Corrections welcome through the contact page.