Blobs, zits and a visible seam line
LayerWalker is a participant in the Amazon Services LLC Associates Program. We may earn a commission when you buy through links on our site, at no extra cost to you.
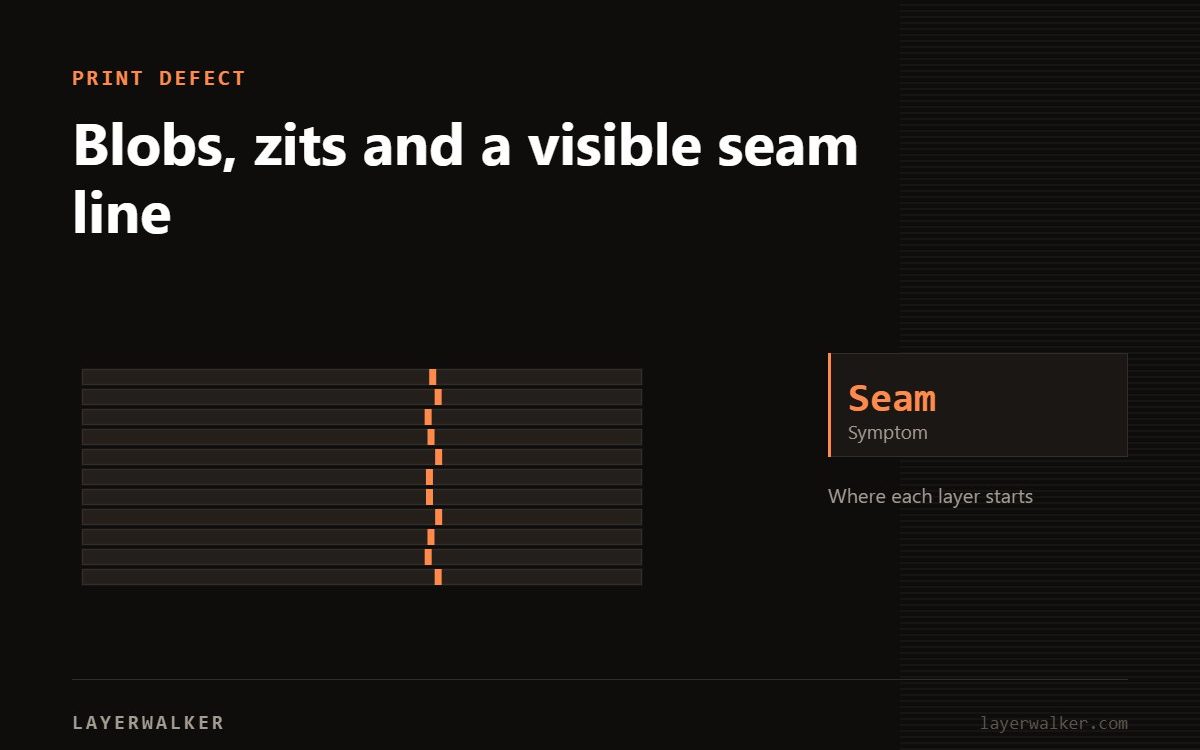
Blobs happen where the nozzle starts and stops each perimeter. Tune pressure advance to control the pressure spike, then use seam placement to hide what remains.
There is always a seam — the perimeter has to start somewhere. The question is whether it is a neat line or a row of blobs, and whether it is in a place anyone sees.
3D print blobs and zits: fix the blob, then hide the seam
Small bumps or divots at the same point on every layer
Pressure spike at the start and end of each perimeter
- Calibrate pressure advance or linear advance. This is the correct fix and it addresses the cause.
- Enable coasting or wipe so the nozzle stops extruding just before the end of the loop.
- Reduce retraction distance slightly if you see a divot rather than a blob.
- Drop the nozzle temperature 5 degC to make the plastic less runny.
- Set seam position to Aligned so it forms a clean line rather than scattering.
- For visible parts, use painted seams to move the line to a hidden edge.
Pressure advance value is machine specific. Calibrate, do not copy.
Aligned, random or rear
Aligned stacks every seam in one vertical line — tidy, but obvious on a smooth cylinder. Random scatters them, trading one visible line for many small marks, which suits organic shapes. Rear puts them all on the back, which only works if the part has a defined back. Painted seams cost a minute in the slicer and beat all three on anything you care about.

LayerWalker
Print defect diagnosis, calibration procedures and parts that actually fit. Corrections welcome through the contact page.