IKEA 3D Printer Enclosure: Lack, Besta or a Cabinet, and How to Make Each Work
LayerWalker is a participant in the Amazon Services LLC Associates Program. We may earn a commission when you buy through links on our site, at no extra cost to you.
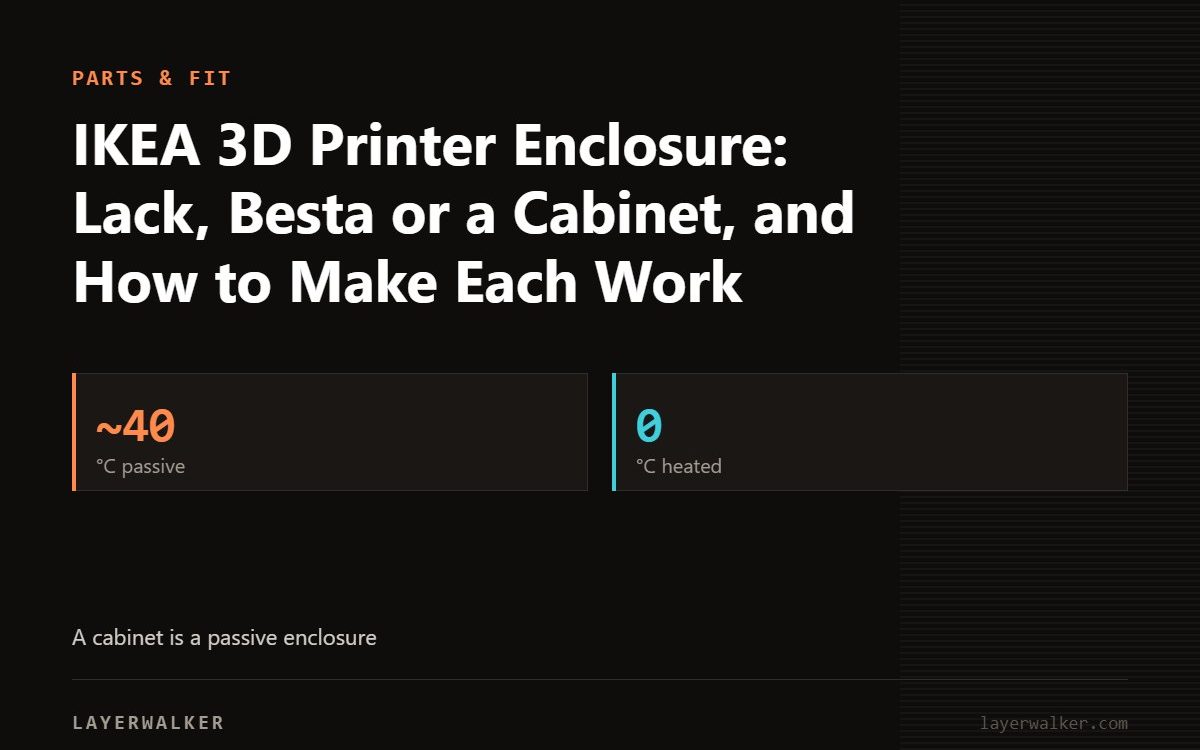
Two IKEA routes work. Stack two Lack side tables with acrylic panels for a 220 mm bed-slinger; that holds about 40 °C from a heated bed. For a larger or CoreXY printer, a Besta-class cabinet with a glass door gives a rigid, heat-retaining box that also hides the printer. Both need a vent port and a smoke detector added.
IKEA enclosures exist because the furniture is cheap, square, and comes in sizes that happen to match printers. The Lack build is the famous one and suits small bed-slingers. Cabinets from the Besta range and its equivalents are the quieter option for bigger printers: a rigid particleboard box with a glass door holds heat as well as a bought enclosure and looks like furniture. Neither is designed for the heat or the fumes, so the safety additions matter more than the build.
Where to buy


Route 1: the Lack stack
- Fits: printers up to about 45 cm wide and 50 cm tall with the gantry up; Ender-class and similar. Measure with the bed at its front stop.
- Parts: two Lack tables, four 3 mm acrylic or polycarbonate panels cut to leg spacing, printed corner brackets and hinges in PETG or ABS, foam tape, magnets.
- Holds: roughly 40 to 45 °C from a 100 °C bed. Enough for ABS and ASA.
- Weak point: rigidity. A Lack flexes; put a paving slab under the printer or the enclosure will amplify shifts and ringing.
Route 2: a cabinet
- Fits: CoreXY printers of the 256 mm class and most bed-slingers, with room for a spool and dryer on a shelf.
- Parts: the cabinet, a glass or acrylic door, a 100 mm vent grommet, a cable pass-through, and a fan-and-filter or duct.
- Holds: 40 to 50 °C with the door shut, more than a tent, because particleboard insulates.
- Weak point: ventilation. A sealed cabinet overheats the electronics and traps styrene; cut the vent before the first ABS print.
What every IKEA build needs added
- A smoke detector above or inside. Particleboard is not a fire barrier.
- A vent port with a small inline fan to a window or a carbon filter, for ABS and ASA.
- A probe thermometer at part height so you know the chamber is warm before you start; cold chambers crack ABS.
- A door you can open. PLA needs the door open or a vent flap; sealed PLA printing above 35 °C clogs the hotend.
- The power supply outside the box, or a vent for it.
The stands in the box
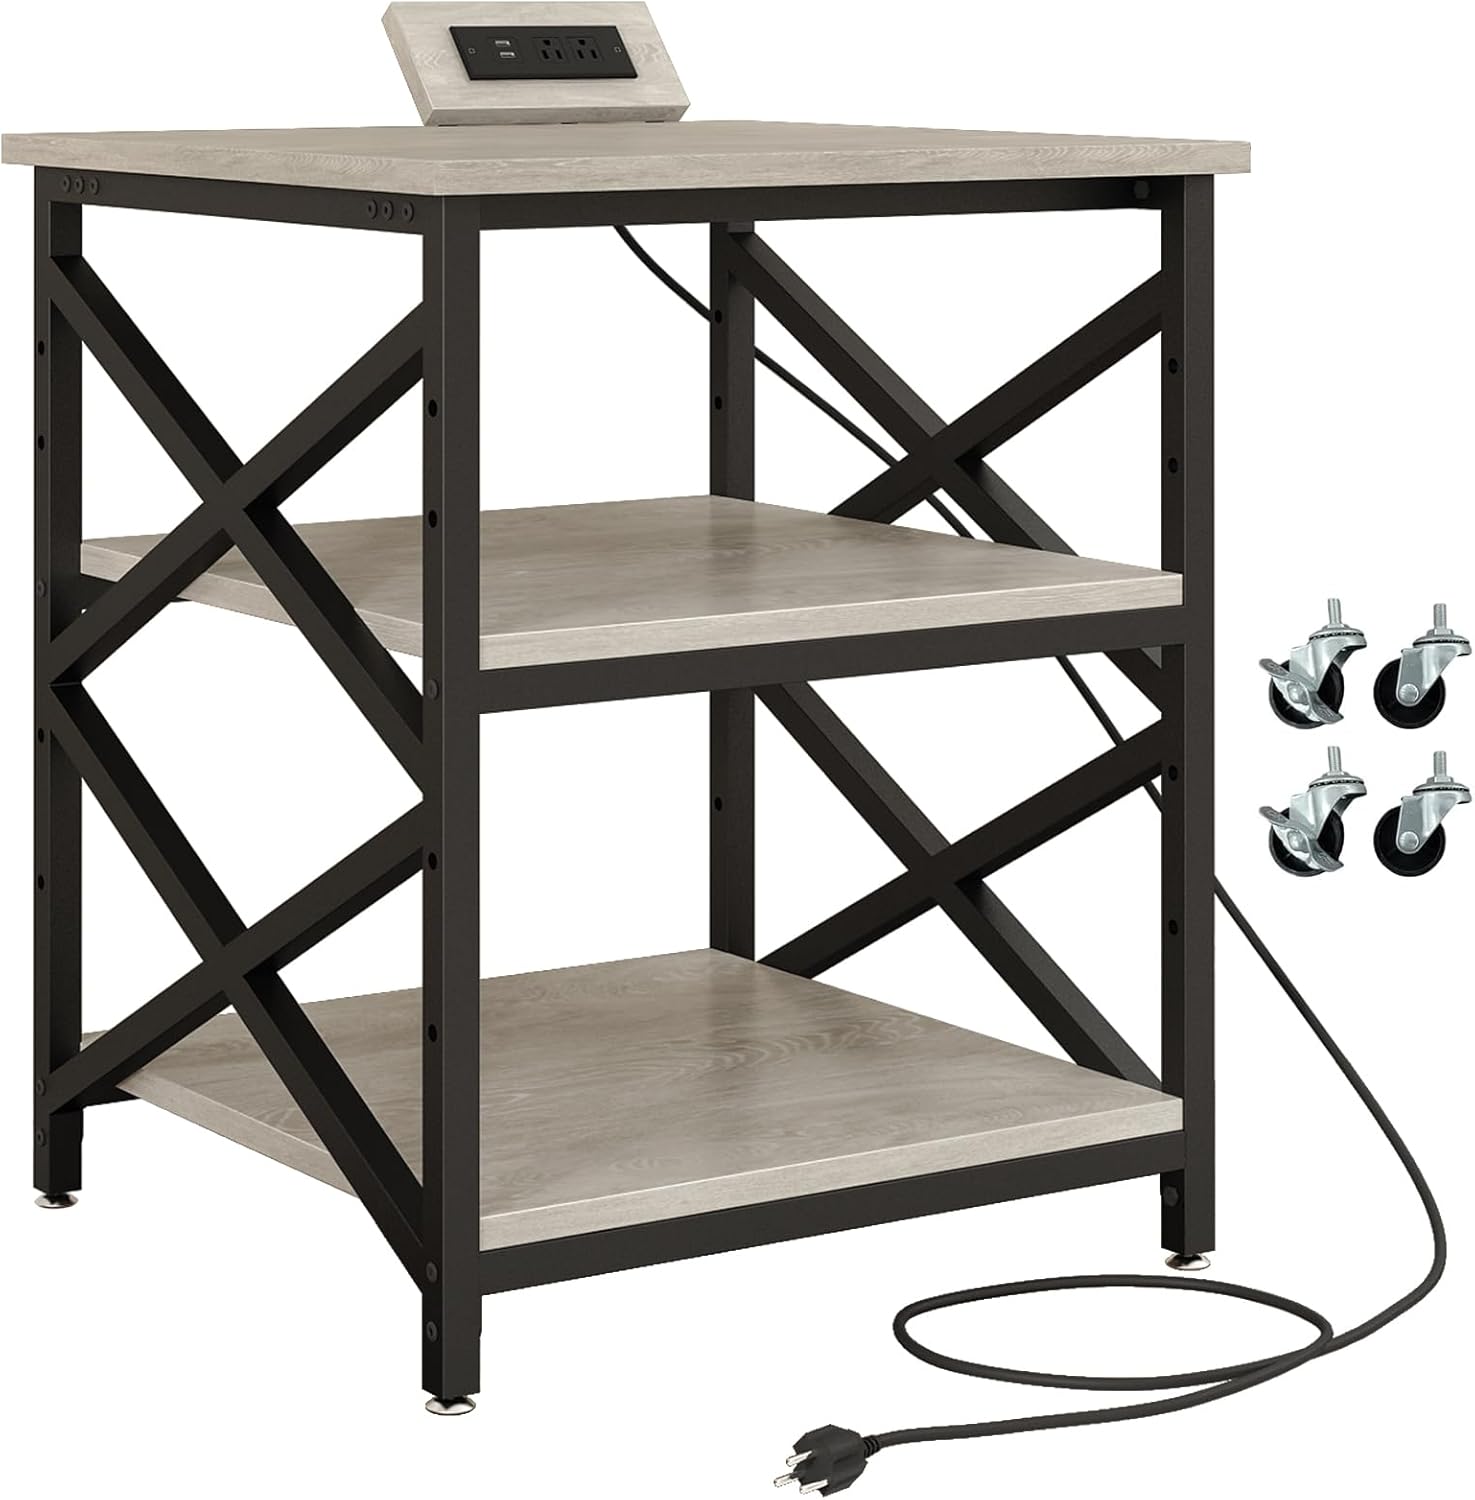
The METYERRY three-tier cart is the off-the-shelf alternative to the Lack stack for the same size class of printer: rigid steel, a power outlet, shelves for spools, and no cutting. The BIQU Panda Station is the purpose-built stand for Bambu-Lab-class printers with the footprint already matched. Neither encloses; pair with a tent if you print ABS, or use them as the rigid base an IKEA build lacks.
3D printer ikea enclosure FAQ
Will a Lack fit a Bambu Lab P1S or similar? Not the common 256 mm CoreXY class; those need a cabinet or a wider frame.
Can I skip the acrylic and use plywood?
Back and sides, yes. Keep the front clear to watch the first layer.
Does an IKEA cabinet get hot enough for polycarbonate?
No. 50 °C is the practical ceiling; PC wants a heated chamber.

LayerWalker
Print defect diagnosis, calibration procedures and parts that actually fit. Corrections welcome through the contact page.