Importing Cura profiles into OrcaSlicer
LayerWalker is a participant in the Amazon Services LLC Associates Program. We may earn a commission when you buy through links on our site, at no extra cost to you.
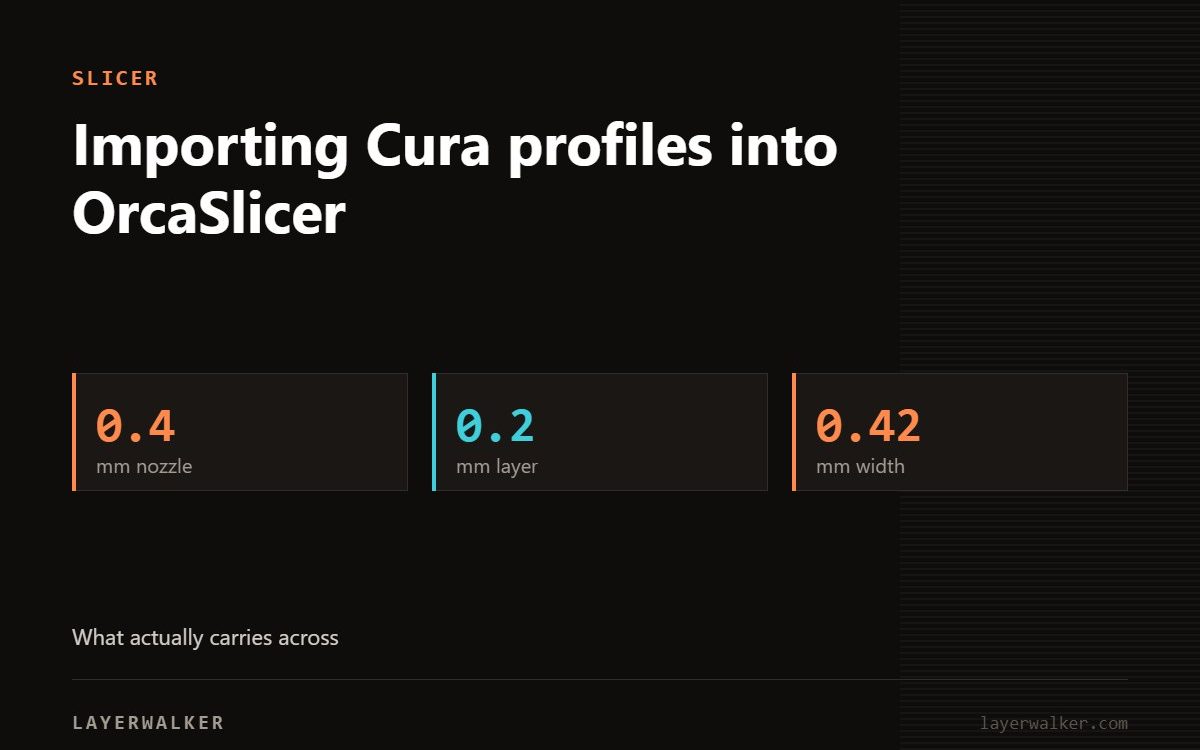
There is no reliable one-click import from Cura to OrcaSlicer. Start from OrcaSlicer’s profile for your machine and carry across the handful of values you actually tuned, rather than trying to convert the file.
The two slicers name settings differently, calculate some of them differently, and organise profiles into different layers. A converted file usually produces something that slices but behaves oddly, and the debugging takes longer than starting fresh.
Import Cura profile into OrcaSlicer: what to carry across
| Property | Value |
|---|---|
| Nozzle and bed temperature | direct, same meaning |
| Flow rate / extrusion multiplier | Cura uses percent, Orca uses a ratio |
| Retraction distance and speed | direct |
| Layer height and line width | direct |
| Cooling fan percentages | direct |
| Print speeds | check against max volumetric speed in Orca |
| Pressure advance | not transferable, recalibrate |
| Support settings | different structure, set up fresh |
The one that catches people
Cura expresses flow as a percentage where 100 is nominal. OrcaSlicer’s flow ratio is a multiplier where 1.0 is nominal. A Cura value of 95 percent becomes 0.95, not 95. Entering 95 produces an unusable profile immediately, which at least makes the mistake obvious.
Recalibrate rather than convert
OrcaSlicer includes a calibration menu that Cura does not. Running flow and pressure advance from that menu takes under an hour and gives you values matched to how Orca actually generates toolpaths. That is a better use of the time than reverse engineering a Cura profile.
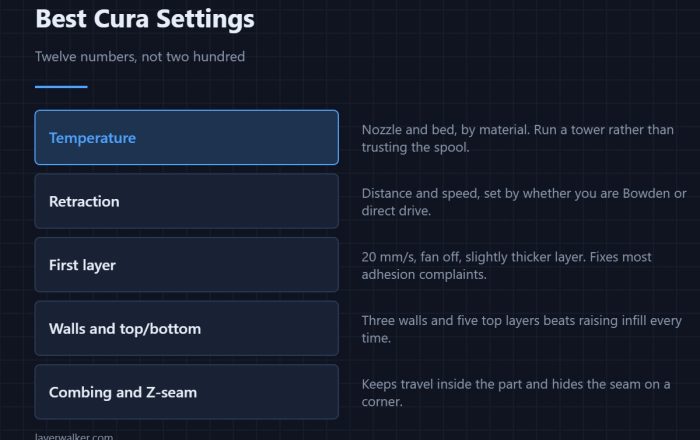
Before moving a profile, it is worth knowing which values matter: the twelve Cura settings that actually change prints. The wider comparison is in PrusaSlicer vs Cura.
Keep Cura installed
There is no reason to delete it. Slice the same model in both and compare estimated time and material before committing to a long print — where they disagree significantly, one of the two profiles has a setting you did not intend.

LayerWalker
Print defect diagnosis, calibration procedures and parts that actually fit. Corrections welcome through the contact page.