DIY 3D Printer Enclosure: The Lack Table Build, What It Costs You, and When to Buy Instead
LayerWalker is a participant in the Amazon Services LLC Associates Program. We may earn a commission when you buy through links on our site, at no extra cost to you.
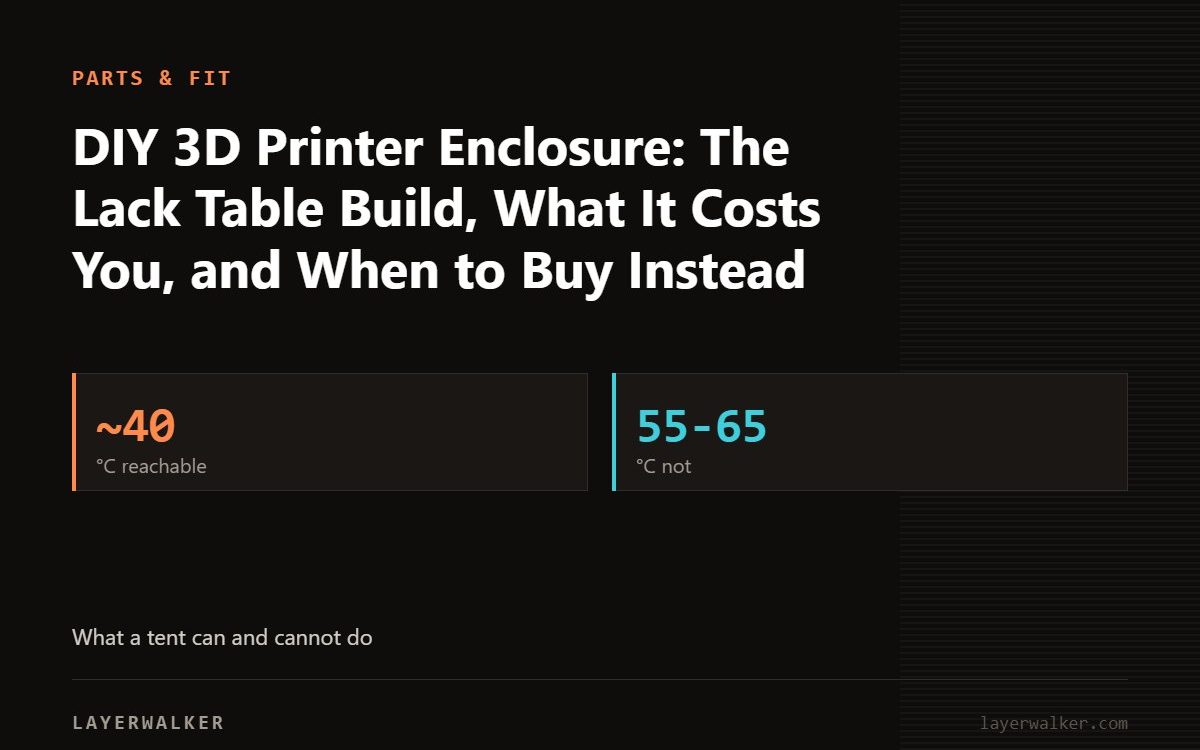
A DIY enclosure built from two IKEA Lack tables, four acrylic panels and some printed brackets holds a stable 40 to 45 °C from a heated bed and costs less than most rigid enclosures. Build it if you enjoy the project; buy a fabric tent if you want ABS to work this weekend, because the tent takes ten minutes and already has a vent port.
The Lack enclosure is a classic for a reason: the table is cheap, its legs are exactly wide enough for a 220 mm bed-slinger, and stacking a second table on top gives you a frame for panels with no cutting. The finished box holds heat about as well as a bought acrylic enclosure and looks tidier than a tent. What the classic build guides skip is the time, the acrylic cost, and the safety details that a commercial enclosure gets right by default.
Where to buy


YOOPAI 3D Printer Enclosure for Creality Ender 3 with Ventilation Kit & LED

What you need
- Two Lack side tables (55 by 55 cm) or one Lack plus printed leg extensions if the printer is taller than about 50 cm with the gantry raised.
- Four acrylic or polycarbonate panels, 3 mm, cut to the leg spacing. Polycarbonate does not crack when you drill it; acrylic is clearer and cheaper.
- Printed corner brackets and door hinges, magnets for the door catch, and foam tape for the panel edges.
- A 100 mm duct fitting and a small inline fan if you print ABS or ASA.
- A thermometer with a probe on a lead, so you can read chamber temperature without opening the door.
Build order
- Measure the printer’s footprint with the bed at its front stop and the spool holder fitted. A stock Ender-class printer fits inside the Lack legs; larger beds or a top-mounted spool need leg extensions.
- Print the brackets and hinges in PETG or ABS, not PLA; the chamber gets hot enough to soften PLA brackets over weeks.
- Assemble the frame, then fit the back and side panels with foam tape on the edges. Leave the front as a door on hinges with a magnetic catch.
- Cut the vent hole in the top or back panel before you fit it, and route the filament through a grommet so the spool can sit outside on a dryer.
- Move the power supply and mainboard outside the chamber if they sit under the bed, or add a vent for them. Overheated stepper drivers cause layer shifts long before anything else fails.
What the DIY build gets wrong by default
- No smoke detector. Add one above the enclosure. Any enclosure that holds heat holds a small fire longer too.
- Particleboard. Lack tables are laminated particleboard. It is fine at 45 °C; do not put a heater in the chamber.
- Sealed too well. PLA prints badly in a sealed box above 35 °C. Leave the door open for PLA, or fit a vent flap.
When buying beats building
The fabric enclosures in the box do the same thermal job for ABS and ASA, fold flat, and come with a vent kit and a flame-retardant liner. If your goal is to stop ABS cracking or corners lifting this week, a tent is the faster route; build the Lack enclosure when you want the project and a nicer-looking result.
DIY enclosure for 3D printer FAQ
How hot does a Lack enclosure get?
About 40 to 45 °C from a 100 °C bed on an Ender-class printer, more with a 110 °C bed and foam-sealed panels. Enough for ABS and ASA; not enough for polycarbonate.
Will a Lack fit a CoreXY printer?
Not the common 256 mm class; those need a wider frame. Measure before you buy the tables.
Can I use plywood instead of acrylic?
Yes for the back and sides; keep the front clear so you can watch the first layer.

LayerWalker
Print defect diagnosis, calibration procedures and parts that actually fit. Corrections welcome through the contact page.