PrusaSlicer: Free, Works With Any Printer, and the Best Supports
LayerWalker is a participant in the Amazon Services LLC Associates Program. We may earn a commission when you buy through links on our site, at no extra cost to you.
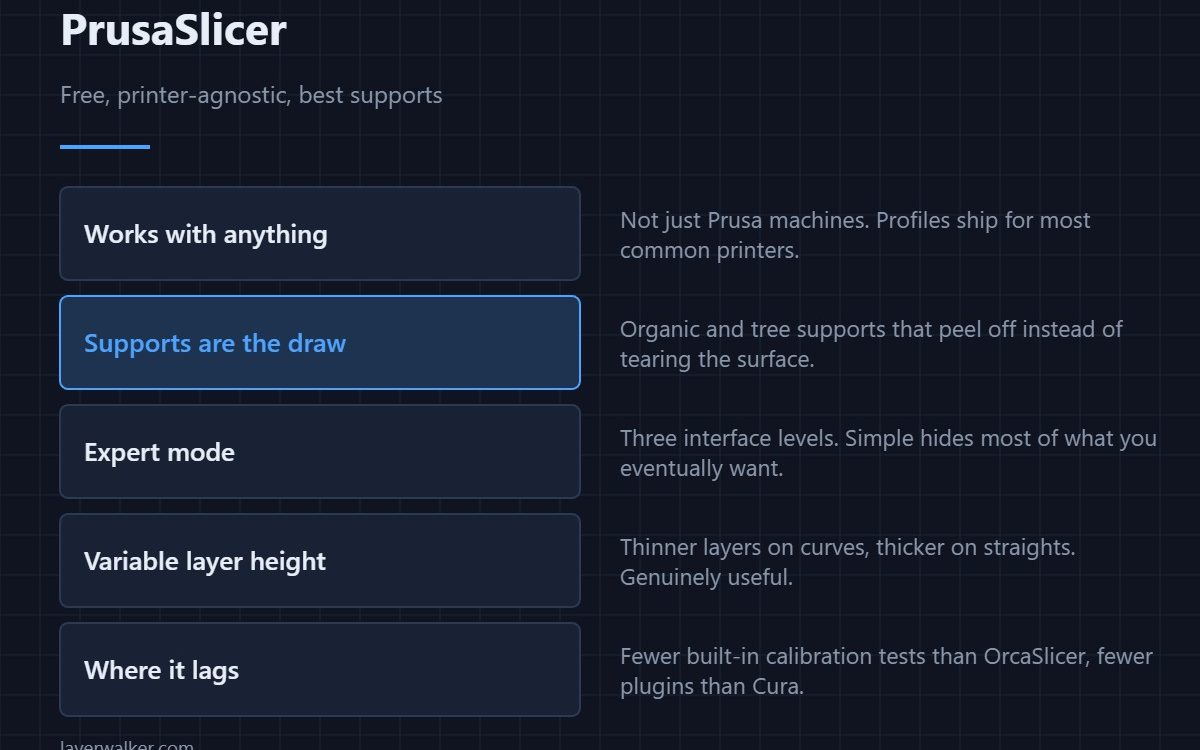
PrusaSlicer is free, open source, and works with almost any printer rather than only Prusa machines. Its real advantage is support generation: organic supports that peel off without scarring the surface. Download it from Prusa’s own site, switch the interface to Expert, and change temperature, retraction and first-layer speed before anything else.
It is easy to assume from the name that this is a vendor slicer for vendor hardware. It is not — profiles ship for most common machines, and plenty of people run it on Enders, Sovols and Qidis without ever touching a Prusa.
Where to buy


Download and first setup
Get it from Prusa’s own download page rather than a third-party mirror; bundled copies on SD cards go stale quickly. Prusa sell their printers direct rather than through Amazon, but the slicer is free and works regardless of whose hardware you own. On first run, pick your printer from the profile list, then immediately switch the interface from Simple to Expert — Simple hides most of what you will want within a week.
Supports are the reason to use it
Organic supports branch like a tree, touch the model at fewer points, and come away cleanly. On overhangs and miniatures the difference against grid supports is obvious in the finished surface. Which style to choose for a given model is covered in tree vs normal supports. This is the single feature that keeps PrusaSlicer installed alongside OrcaSlicer on most benches.
Settings worth changing first
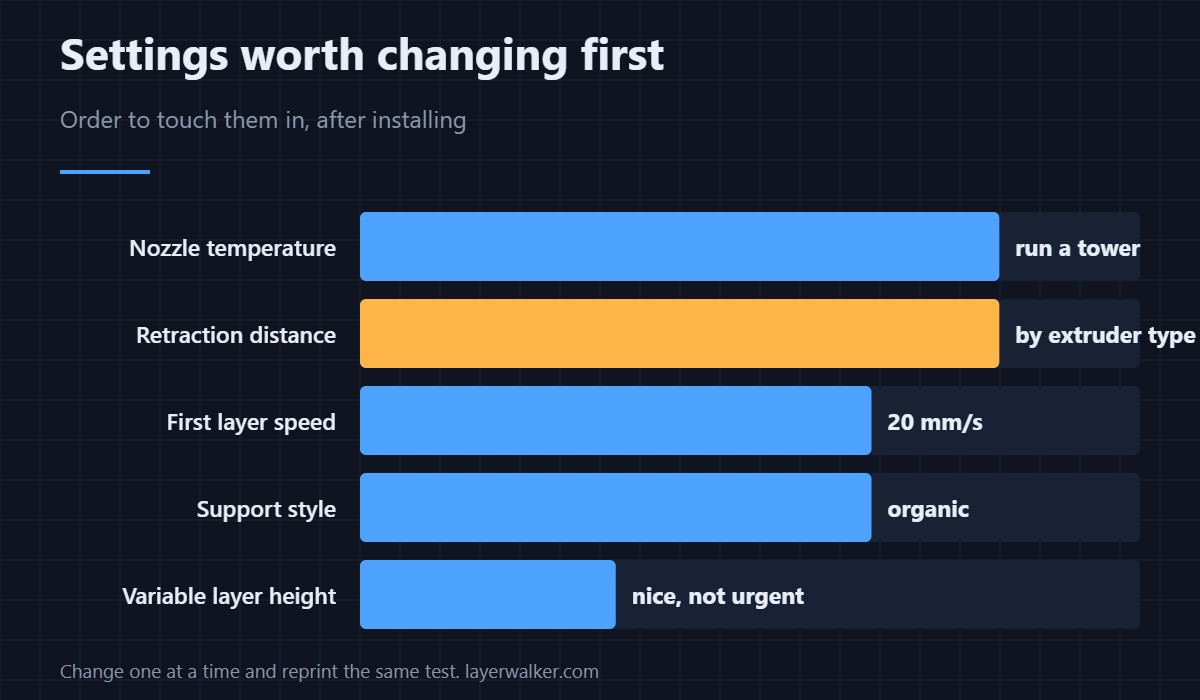
- Nozzle temperature. Run a temperature tower rather than trusting the spool label.
- Retraction. The number depends entirely on your extruder layout — roughly 5–7 mm Bowden, 0.5–1 mm direct drive. Full detail in retraction settings.
- First layer speed. 20 mm/s. Fixes most adhesion complaints on its own.
- Support style. Organic, unless the part needs dense support under a flat face.
- Variable layer height. Thinner on curves, thicker on straight walls. Useful once the basics are sound — see layer height.
Where it lags
Fewer built-in calibration tests than OrcaSlicer, which matters most when you are starting out, and a much smaller plugin ecosystem than Cura. Neither is a reason to avoid it, and since all three are free the sensible answer is to keep more than one installed — the full comparison is in best 3D printer slicer software.
PrusaSlicer FAQ
Does PrusaSlicer work with non-Prusa printers?
Yes. It ships profiles for many common machines, and you can add a custom printer by entering bed size, nozzle diameter and start G-code manually.
Is PrusaSlicer free?
Completely, and open source. There is no paid tier and no feature held back.
PrusaSlicer or OrcaSlicer?
OrcaSlicer if you are still calibrating, PrusaSlicer if supports are your pain point. Most people end up with both. The comparison against Cura specifically is in PrusaSlicer vs Cura.
Why can I not find a setting I read about?
You are almost certainly in Simple or Advanced mode. Switch to Expert in the top-right; roughly two-thirds of the settings are hidden below that level.

LayerWalker
Print defect diagnosis, calibration procedures and parts that actually fit. Corrections welcome through the contact page.