How to Print Building Bricks That Fit: Settings, Tolerances and Test Blocks
LayerWalker is a participant in the Amazon Services LLC Associates Program. We may earn a commission when you buy through links on our site, at no extra cost to you.
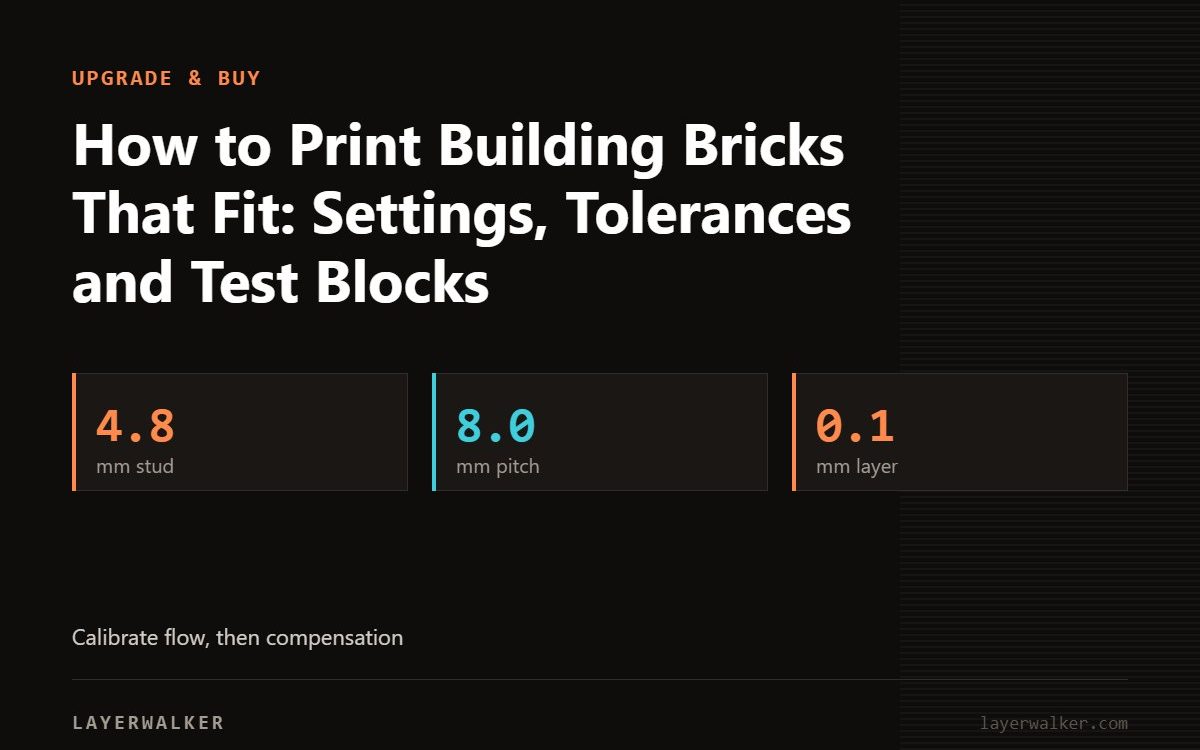
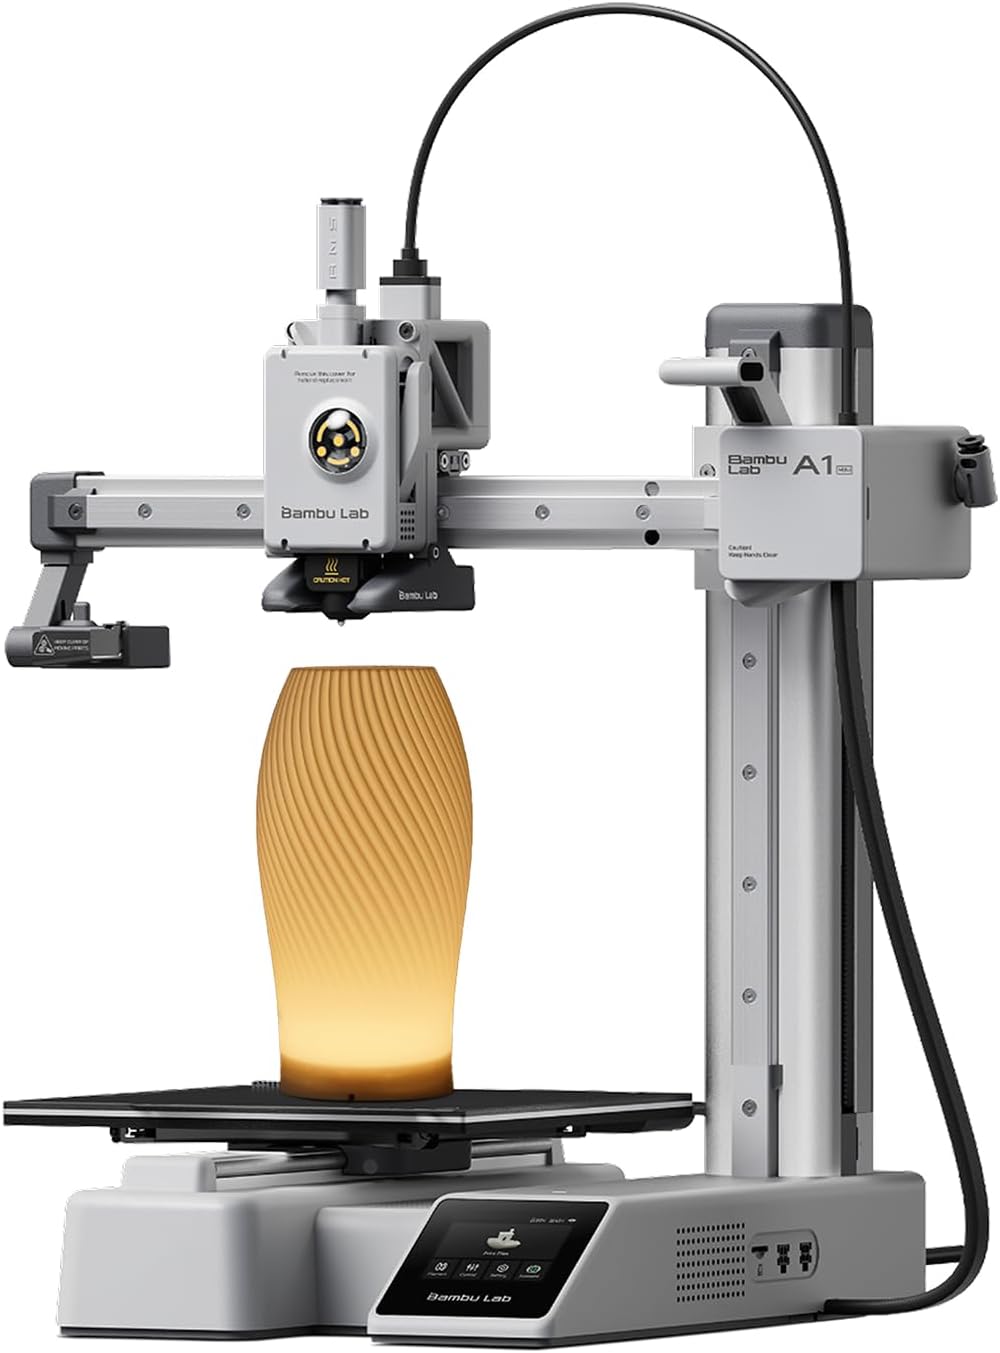
Printing compatible bricks that clutch is a calibration exercise. Do three things in order: calibrate flow so studs are not fat, remove elephant foot so the first layer is not flared, and tune XY hole and contour compensation with a single test brick until it snaps onto a real one. Then print in PLA or PETG at 0.1 mm layers on the stud face. On a Bambu A1 mini the first two happen automatically; on other printers budget an afternoon.
Printed bricks are small parts. Use PLA, never resin, and keep them away from children under three.
Where to buy


Step by step
| Step | What to do | Target |
|---|---|---|
| 1. Flow | Run a flow calibration cube; adjust until walls measure nominal | Walls within 0.03 mm of nominal |
| 2. First layer | Set Z-offset so the first layer is flat, not squished; enable elephant-foot compensation 0.1 to 0.2 mm | No flare at the base |
| 3. Test brick | Print a 2 × 4 brick from an open-source design; try it on a real brick | Snaps on with even pressure |
| 4. Compensation | Adjust XY hole compensation (tubes) and contour compensation (studs) by 0.02 mm steps | Studs 4.8 mm, tubes fit |
| 5. Layers | 0.1 mm for the stud face, 0.2 mm body if the slicer allows variable height | Clean stud tops |
| 6. Material | PLA for stiffness; PETG for wear and slight give | Consistent brand and colour |
| 7. Repeat per filament | Different spools shrink differently | Re-check with the test brick |
Why each step matters
- Studs are 4.8 mm and the fit lives in a few hundredths; 3 percent over-extrusion makes them unusable. See flow rate.
- A flared first layer stops a brick seating on the one below. See elephant foot.
- Compensation values are per printer and per filament; write them down.
Printers
Any current direct-drive printer can do this. The Bambu A1 mini and A1 calibrate flow automatically and print the test brick right first time in most cases; the Ender-3 V3 KE and V3 SE need the manual steps. See which printer for bricks.
Legal note
Brick geometry is not protected; brand names, logos and minifigure designs are. Print your own designs or open-source compatible bricks, and do not sell anything with a trademark on it.
The units in the box
The listings are the A1 mini, the Ender-3 V3 KE and the Ender-3 V3 SE.
Print legos with 3D printer FAQ
Why do my bricks come loose?
Under-extruded studs or a slightly large tube; add 0.02 mm contour compensation.
Why will they not go on?
Elephant foot or over-extrusion; fix the first layer first.

LayerWalker
Print defect diagnosis, calibration procedures and parts that actually fit. Corrections welcome through the contact page.