Sanding and Priming 3D Prints: The Grit Order That Actually Works
LayerWalker is a participant in the Amazon Services LLC Associates Program. We may earn a commission when you buy through links on our site, at no extra cost to you.
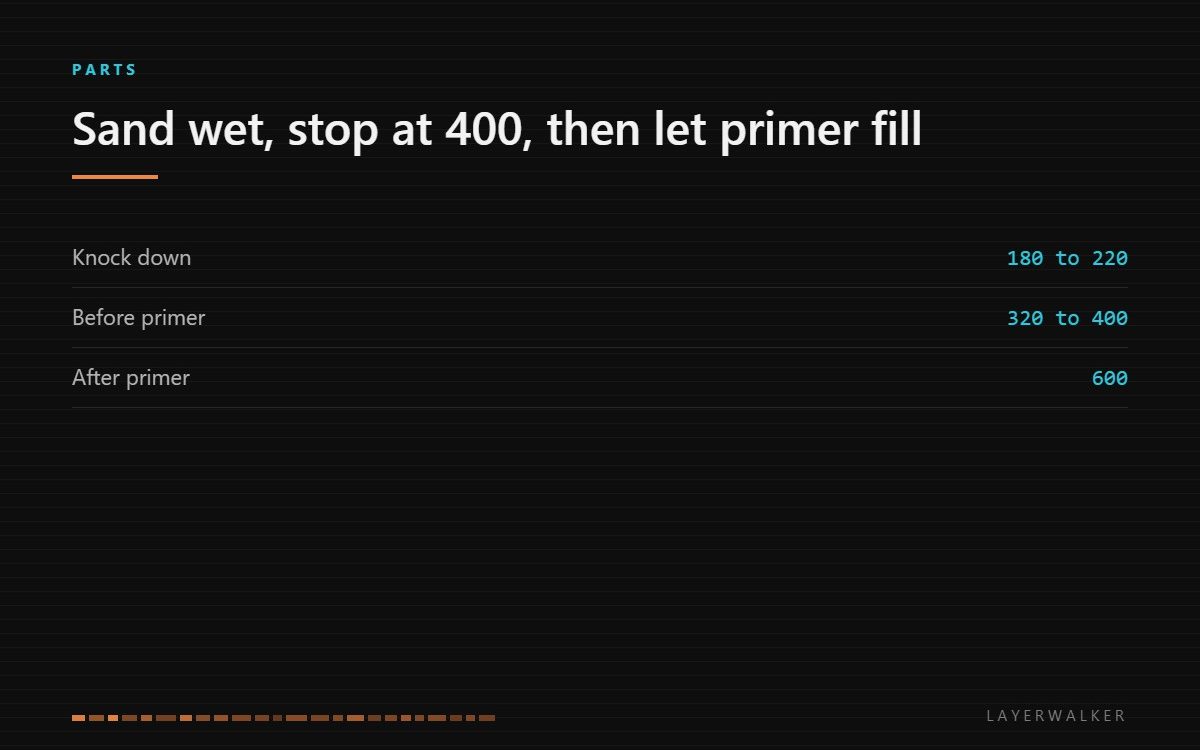
Sand wet, start at 220, and stop at 400 before you prime. Filler primer fills what sanding cannot reach, and two thin coats with a light sand between them does more than an hour of dry sanding ever will.
Where to buy

What to look for
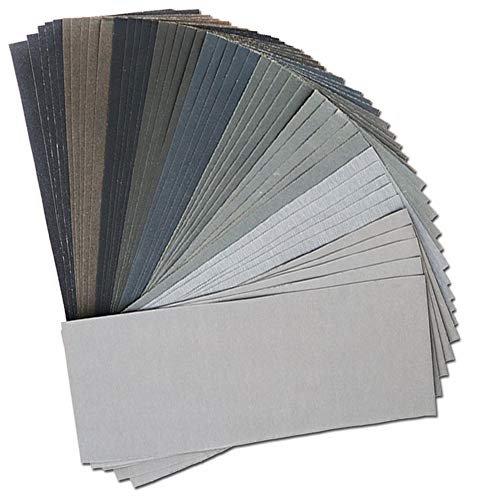
Buy a wet-dry assortment rather than a single grit. The useful range for printed parts runs from about 220 up to 2000, and an assortment pack costs less than two individual sheets bought separately. Wet-dry paper matters specifically here: printed plastic loads ordinary paper with melted residue within a few strokes, and water carries that residue away so the abrasive keeps cutting.
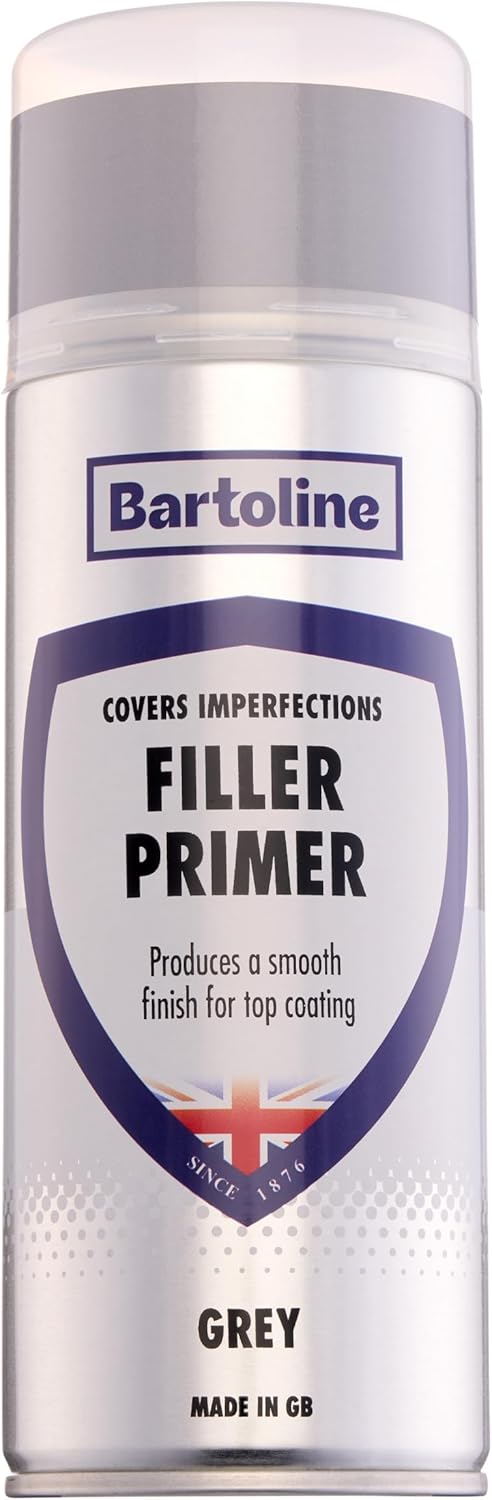
For primer, buy a filler primer rather than a plain one. Ordinary primer is a thin bonding layer; filler primer carries solids that settle into the valleys between layer lines and sand back flat, which is the entire trick. A fine surface primer from the model-making world gives a smoother result on small detailed parts, while an automotive filler primer builds faster on large ones. Both work; the choice is about part size.
Why dry sanding fails
Thermoplastic softens under friction. Sand a printed part dry with any pressure and the surface smears rather than cuts: the paper clogs with melted plastic, the grit stops working, and you polish a soft skin over the layer lines rather than removing them. The part looks glossier and is no flatter.
Water fixes this completely. It cools the surface, floats the swarf off the paper, and lets the abrasive keep its edge. Add a drop of dish soap to the water and the paper lasts longer still. The only cost is that you must dry the part properly before priming, and that PLA parts should not be left soaking.
The grit sequence
| Stage | Grit | Purpose |
|---|---|---|
| Knock down | 180 to 220 | Remove support scars, seams and the worst layer ridges |
| Level | 320 to 400 | Take out the scratches from the previous stage. Stop here before primer. |
| After primer | 600 | Cut the primer back flat; the low spots stay filled |
| Finish | 1000 to 2000 | Only if the part will be polished or gloss painted |
The mistake that costs the most time is going too fine too early. Fine paper does not remove layer lines; it removes the scratches left by coarser paper. If the lines are still visible at 400, going to 1000 will make them shiny and just as visible.
The second mistake is sanding a part that should have been printed differently. Layer lines scale with layer height, and a part printed at a fine layer height in the orientation that puts the visible face vertical needs a fraction of the work. Our page on layer height covers that trade, and it is worth reading before a part you intend to finish by hand.
Primer does the work
Two or three thin coats, each allowed to flash off before the next, then sand back at 600. The high spots come back to bare plastic and the valleys stay filled with primer, and that alternation is what produces a flat surface. One thick coat does not do this; it sags, stays soft underneath, and sands unevenly.
Prime in a warm, dry place and keep the can moving. Primer bloom, the chalky white haze that appears on humid days, is moisture condensing into the drying film, and the only cure is to sand it off and do it again in better conditions.
Where the effort is not worth it
Functional parts do not need any of this, and sanding a load-bearing part can make it weaker by removing wall material where it matters. Save the finishing for display pieces and visible surfaces. On a bracket that lives inside an enclosure, a deburring pass on the sharp edges is the whole job, and our deburring page covers that in a couple of minutes rather than an evening.
FAQ
What grit removes layer lines? 180 to 220 does the removing. Everything finer just cleans up after it.
Can I sand PETG? Yes, but it is gummier than PLA and loads paper faster. Wet sanding is not optional with it.
Do I have to prime before painting? On a printed part, yes. Paint alone will not fill layer lines and will show every one of them.
How long does a part take? A palm-sized part to paint-ready is roughly an hour of hands-on work spread across drying time.

LayerWalker
Print defect diagnosis, calibration procedures and parts that actually fit. Corrections welcome through the contact page.