3D Scan and Print: The Steps Between Capture and a Printable Part
LayerWalker is a participant in the Amazon Services LLC Associates Program. We may earn a commission when you buy through links on our site, at no extra cost to you.
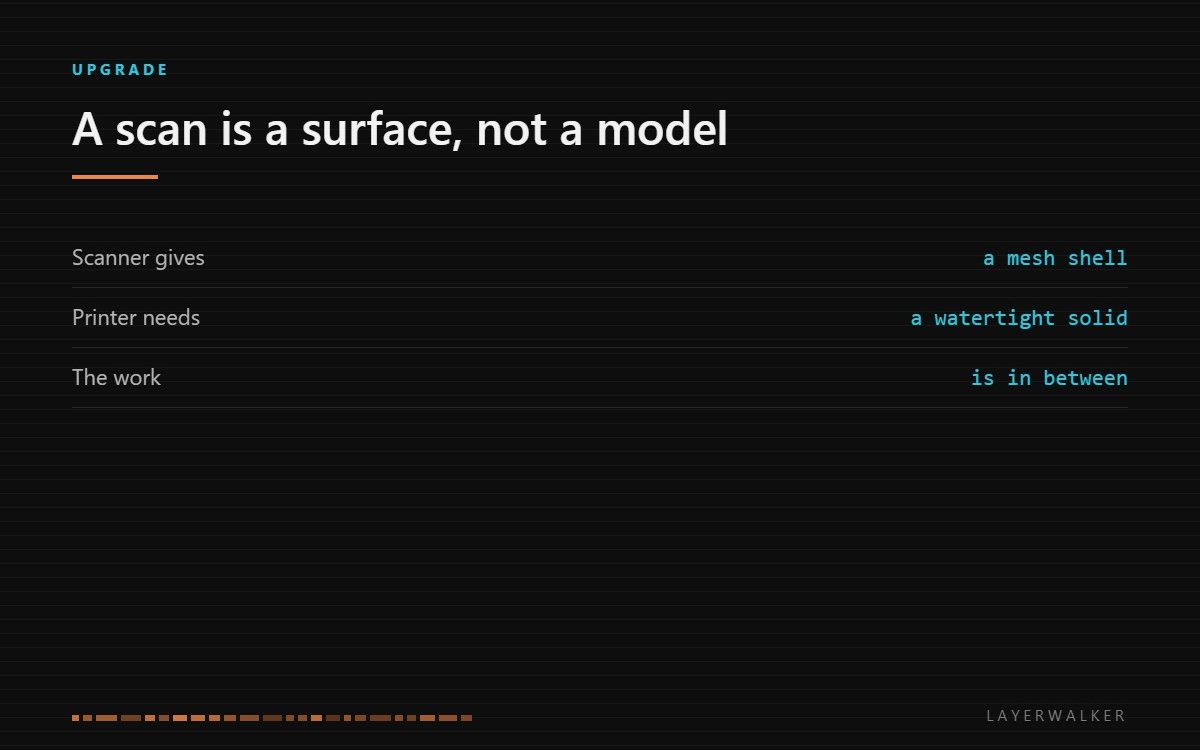
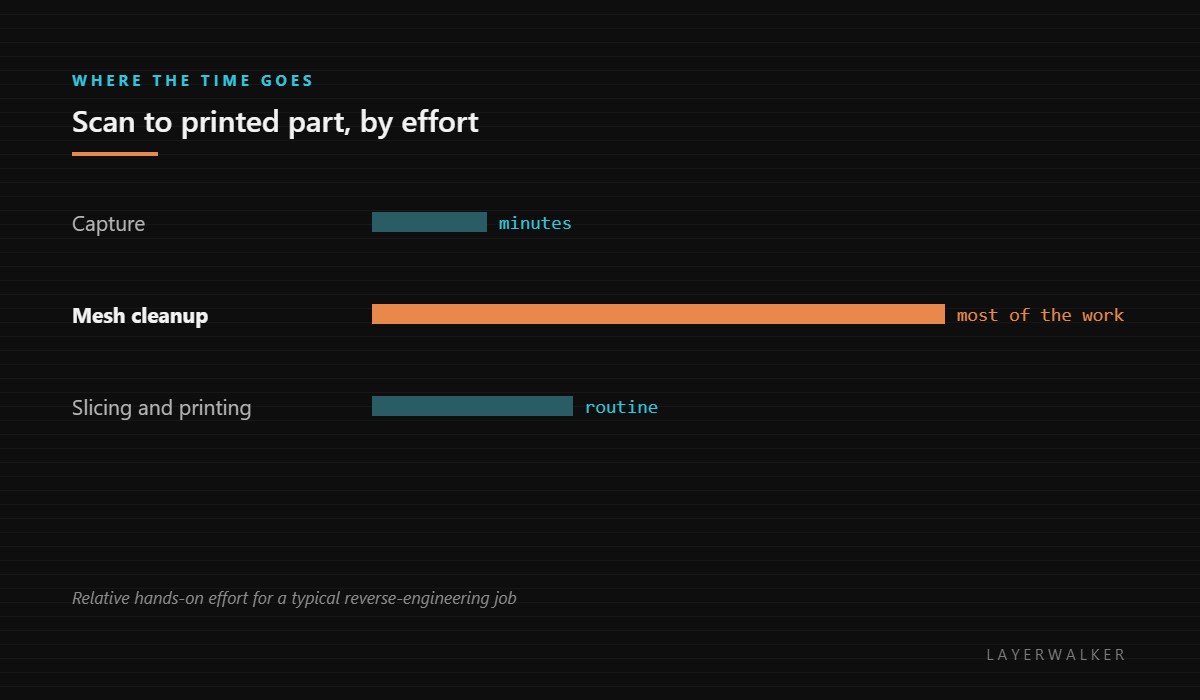
Scanning gives you a surface with holes, noise and a floor attached. A printer needs a closed solid. Everything between those two is mesh work, and it is where the time goes, not in the capture.
Where to buy


Revopoint MetroX Pro 3D Scanner, Blue Laser Scan, for 3D Printing, Advanced

What the scanner actually hands you
A mesh: a shell of triangles describing the surfaces the sensor could see. It will have gaps where the object was undercut or too dark, noise where the tracking was marginal, and usually a patch of the table it was standing on. None of that stops it being a good scan; all of it stops it being printable.
The printer, by contrast, needs a manifold solid. Every edge must belong to exactly two faces and the surface must enclose a volume. A shell with a hole in it has no inside, and the slicer has nothing to fill.
How much resolution a printer can actually use
This is the part that saves people money. A 0.4 mm nozzle lays lines 0.4 mm wide; it cannot reproduce a 50 micron surface detail no matter how well you captured it. For scan-to-print work the scanner only has to resolve features larger than the nozzle can draw, which is a far lower bar than scanner marketing implies.
Where higher resolution does pay is dimensional accuracy over the whole part rather than fine texture: getting a bore diameter or a bolt spacing right so the printed replacement actually fits. That is about the scanner holding its alignment across the object, which our page on scanning for 3D printing covers.
The cleanup sequence
Delete the floor and anything that is not the object. Fill holes, working from small to large so the automatic tools have context. Decimate: a raw scan can carry millions of triangles and a printable model rarely needs more than a fraction of that. Then check the mesh is watertight and fix what the checker reports.
Only then is it worth opening the slicer. Trying to slice a raw scan is the most common way people conclude their scanner was not good enough.
When to remodel instead
If the part is mechanical, made of flats and cylinders, the scan is better used as a reference than as geometry. Measure from it, model the part properly in CAD, and you get a clean model with editable dimensions instead of a lumpy shell. Scanning earns its place on organic shapes that nobody wants to model by hand.
For choosing a scanner for this work, our range overview and handheld scanner guide cover which class suits which subject.
FAQ
Can I print a scan directly? Almost never. It needs closing and cleaning first.
Do I need a high-resolution scanner to print? Less than you think. The nozzle is the limit, not the sensor.
Why does my scan have holes? Undercuts, dark surfaces and shiny surfaces. Spray helps with two of the three.
How long does cleanup take? Longer than the scan. Plan for it as the main task.

LayerWalker
Print defect diagnosis, calibration procedures and parts that actually fit. Corrections welcome through the contact page.