Elegoo Centauri Carbon Upgrades: The 0.2 and 0.4 mm Hotend Kits, a Ceramic Option, and What to Leave Alone
LayerWalker is a participant in the Amazon Services LLC Associates Program. We may earn a commission when you buy through links on our site, at no extra cost to you.
The Centauri Carbon needs little. The upgrades that earn their place are Elegoo’s official hotend kits, a 0.2 mm for detail and a spare 0.4 mm, a ceramic-heater hotend as a fast-heating spare, a hardened nozzle before carbon-fibre filament, and a filament dryer because the printer is enclosed but the spool sits outside in room air.
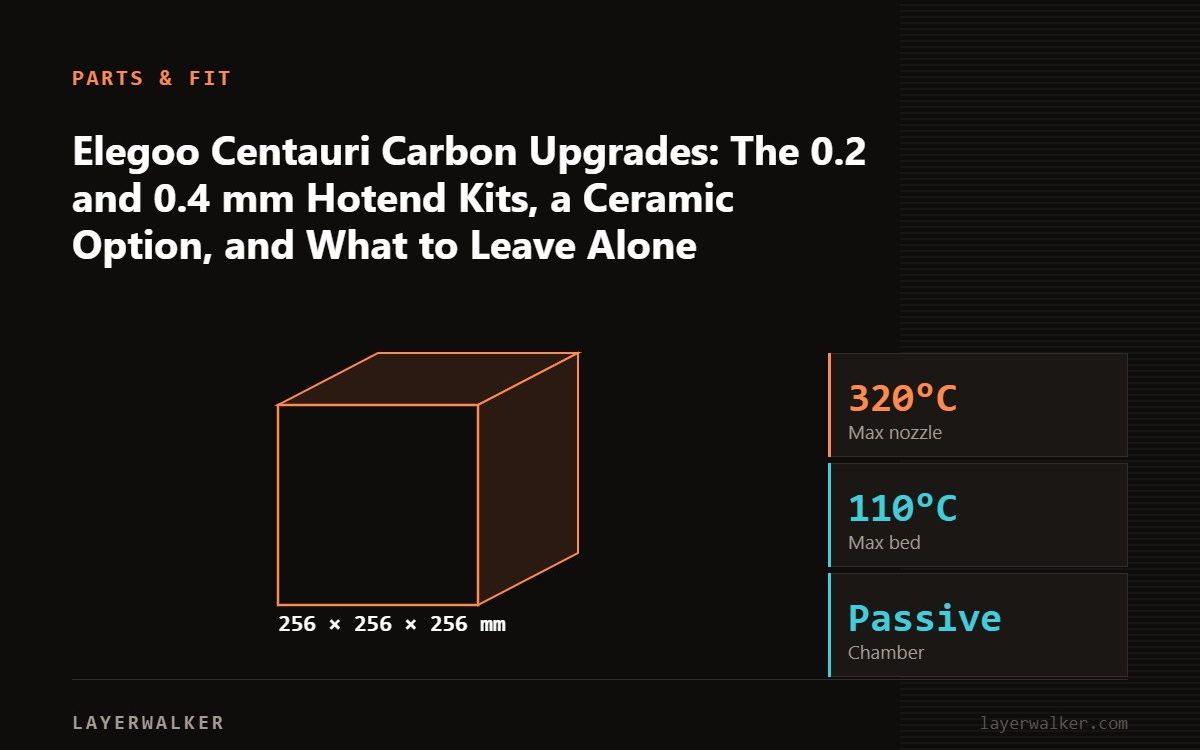
The Centauri Carbon undercut the enclosed CoreXY market on price without cutting the parts that matter: it has a 300 °C hotend, input shaping, a camera and a heated bed to 100 °C. Its hotend is a complete swap unit, which turns nozzle size into a per-job choice and makes spares simple. Beyond hotends, the useful upgrades are the same as for every enclosed printer.
Where to buy


0.4MM Ceramic Hotend Kit Clog-Free Extruder for Elegoo Centauri Carbon/CC
What is worth buying
- Elegoo 0.2 mm hotend kit for miniatures and text; the 0.4 mm kit as a spare for when a clog will not clear.
- Ceramic hotend kit as a fast-heating, clog-resistant spare from a third party.
- Hardened nozzle before CF, glow or sparkle filament; see abrasives.
- A filament dryer; see drying.
- A spare 260 by 271 mm plate and silicone socks.
What to skip
- Enclosure mods; it is enclosed.
- Aftermarket cooling ducts; tuned already.
- Firmware replacements on a machine that prints well; the Centauri runs a Klipper-based firmware and root access is for tinkerers.
The parts in the box
Elegoo’s 0.4 mm and 0.2 mm extruder hotend kits, listed only for the Centauri Carbon, are the official options; the 0.4 mm ceramic hotend kit is the third-party fast-heating spare. Confirm the Centauri Carbon is named in each listing.
Fitting a hotend
- Cool the hotend and unload filament.
- Open the toolhead, disconnect the heater and thermistor, remove the old unit.
- Fit the new hotend, reconnect, close up.
- Run the printer’s PID or temperature calibration if offered, then a first-layer test. A clog straight after a swap is usually a connector not seated.
Elegoo Centauri Carbon Upgrades FAQ
Do Neptune 4 hotends fit the Centauri?
No; different design.
Does the Centauri need a hardened nozzle out of the box?
No; only for abrasive filament.
Is a 0.6 mm hotend available?
Check current Elegoo listings; the 0.2 and 0.4 are the common kits.

LayerWalker
Print defect diagnosis, calibration procedures and parts that actually fit. Corrections welcome through the contact page.