Bambu Lab P1P Enclosure: Bambu’s Kit vs Printed Panels vs a Tent, and What Each Gets You
LayerWalker is a participant in the Amazon Services LLC Associates Program. We may earn a commission when you buy through links on our site, at no extra cost to you.
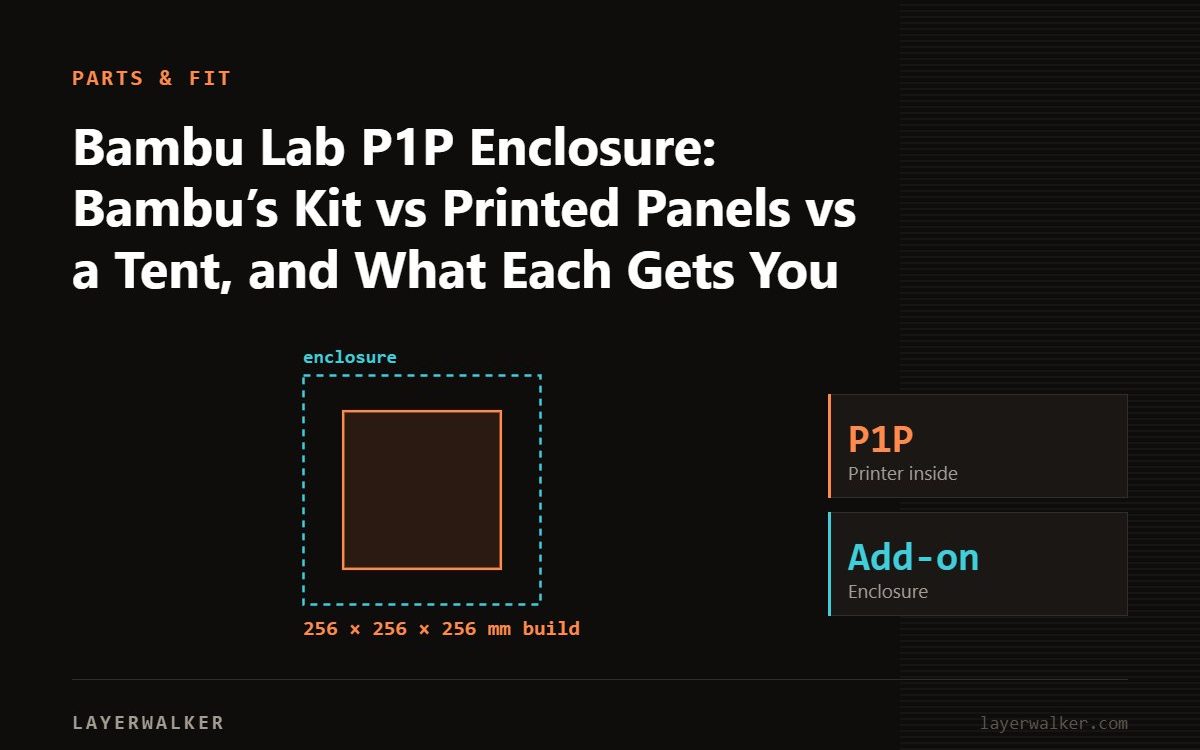
The P1P is a P1S without the walls, and three routes give it walls back: Bambu’s official P1P enclosure kit, which makes it essentially a P1S; printed side panels plus a top glass, which most P1P owners do first; or a fabric tent around the whole printer. For regular ABS and ASA, the kit or full printed panels. For occasional ABS, the tent.
Bambu designed the P1P to be enclosed by its owner: the frame has mounting points for panels and the community has printed thousands of panel sets. The official kit adds the same panels, top glass, front door and auxiliary fan the P1S ships with. A tent is the third option and needs no assembly. Each holds ABS temperatures; they differ in cost, looks and how well the chamber is sealed against draughts.
Where to buy


The three routes
- Bambu P1P enclosure kit. Side panels, back panel, top glass, front door, auxiliary part-cooling fan. The P1P becomes a P1S in function. Buy from Bambu; it is not usually on Amazon.
- Printed panels. Frames printed in PETG or ABS holding acrylic or polycarbonate sheets, with a purchased top glass. Cheap, several evenings of printing, looks as good as you make it.
- A tent. A fabric enclosure around the whole P1P, spool and all. Ten minutes to set up, holds 40 °C, no permanent change. The AMS on top makes the P1P tall; measure.
What to check for a tent
- Internal height for the P1P with the AMS on top, about 60 cm, or a plan to move the AMS beside it.
- A vent port for ABS and ASA.
- Cable and filament pass-throughs.
- Clear front panel.
The enclosures in the box
The listed enclosures are fabric tents: the medium YOOPAI with LED lighting and constant-temperature liner, and a ventilated enclosure sized for Bambu printers. Both are the tent route; measure the P1P with the AMS in place before choosing the size.
Printing ABS once it is enclosed
- Warm the chamber 15 minutes at a 100 °C bed before starting.
- Part cooling low; the auxiliary fan off or minimal for ABS.
- Textured PEI at 90 to 100 °C or smooth PEI with glue. Corners lifting means a cold or draughty chamber; cracks mean too much fan.
- Vent to a window or a carbon filter; see ASA versus ABS for fumes.
- Open the door for PLA.
Bambu Lab P1P Enclosure FAQ
Is a panelled P1P as good as a P1S?
With the official kit or well-sealed printed panels, effectively yes.
Do I need the auxiliary fan?
For fast PLA overhangs it helps; for ABS it stays off. The kit includes it; printed panels do not.
Can the AMS go inside the tent?
It can, but PLA in a warm AMS softens. Put it beside the printer with a longer PTFE run if the tent allows.

LayerWalker
Print defect diagnosis, calibration procedures and parts that actually fit. Corrections welcome through the contact page.